Getting Started
An illustrated guide to using the Reality Editor 2.
The best way to get started is to download the Starter App for OSX. Once you downloaded the dmg file, copy the Reality Editor Starter App to your Application folder. Once opened, the Starter App waits for you to push the connecting button on your Philips Hue Bridge or your Lego WeDo 2.0. Print the visual markers and follow the instruction on the printout. You are now ready to use the Reality Editor 2. Point the Reality Editor 2 at your connected Objects to learn about the following user interface 101.
Navigating the Reality Editor 2
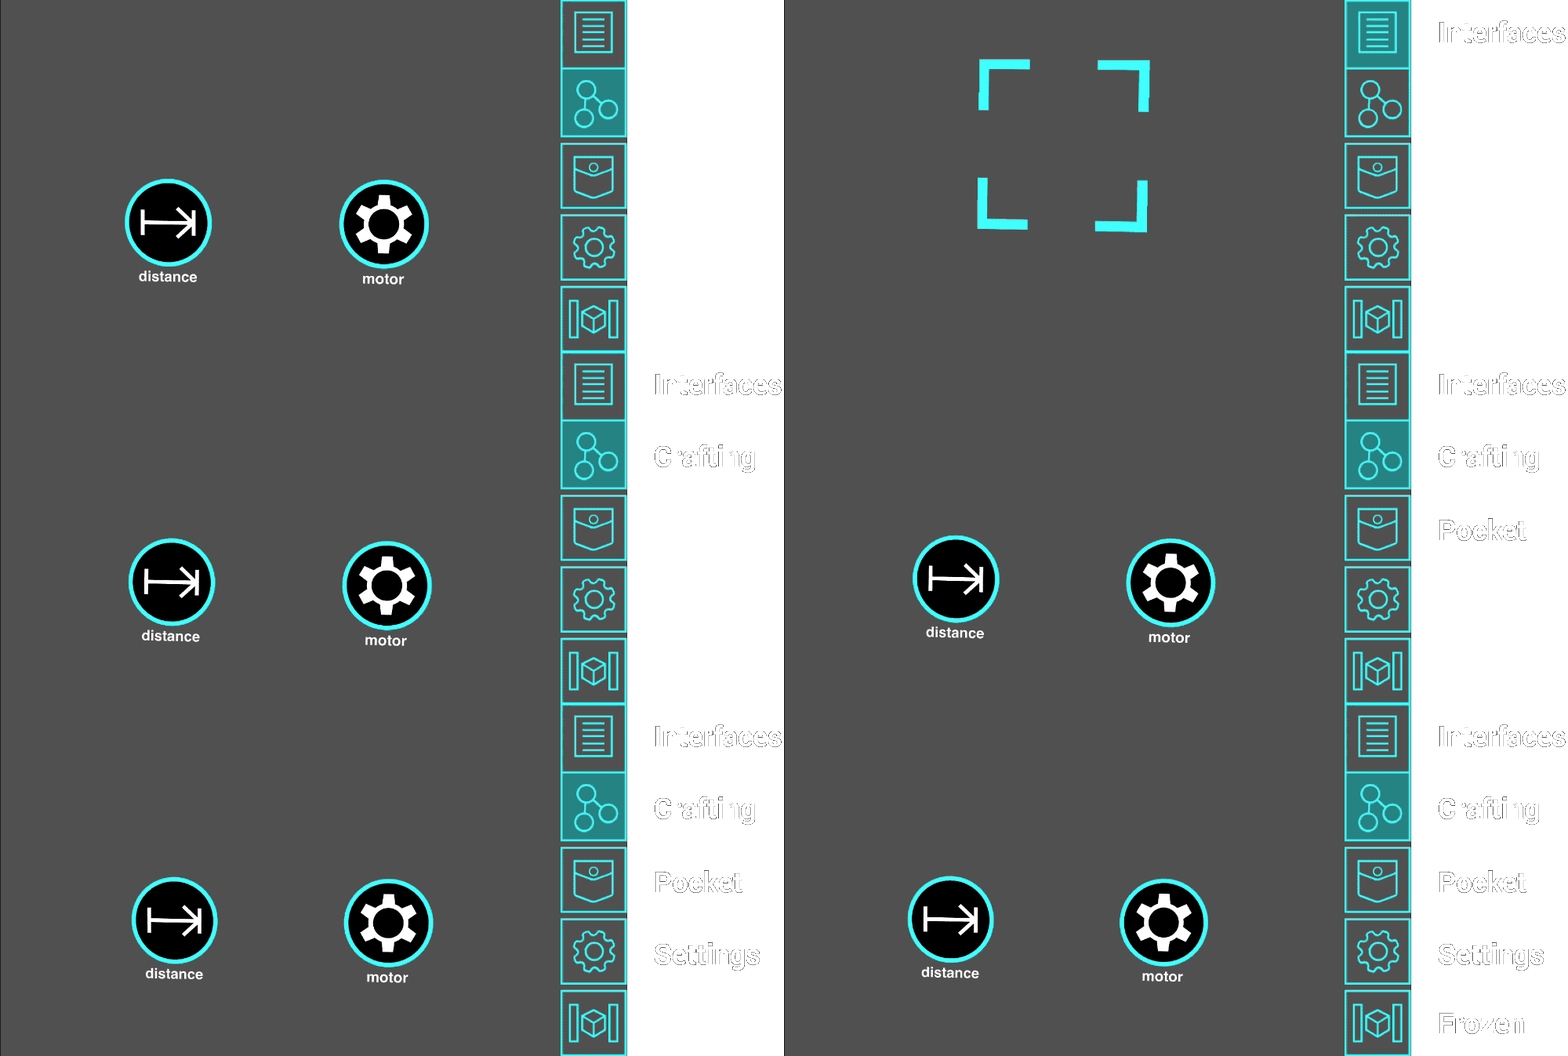
There are five menu buttons. Learning what each does will guide you through the Reality Editor 2.
- The Interfaces button displays the AR interface on top of any objects you look at.
- This is the primary view anytime you aren’t customizing how objects behave, and just want to interact with them.
- The Crafting buttons shows the nodes that compose an object’s functionality, and lets you edit how they interact.
- This is the primary view anytime you want to connect objects together or reprogram their behavior.
- The Pocket button lets you save and reuse memories and interface components.
- The Settings button displays a menu where you can see a list of connected objects and toggle between different modes and developer tools.
- The Freeze button freezes the video stream into a still image so the objects you’re looking at stay in view even when you move your camera.
The Basics
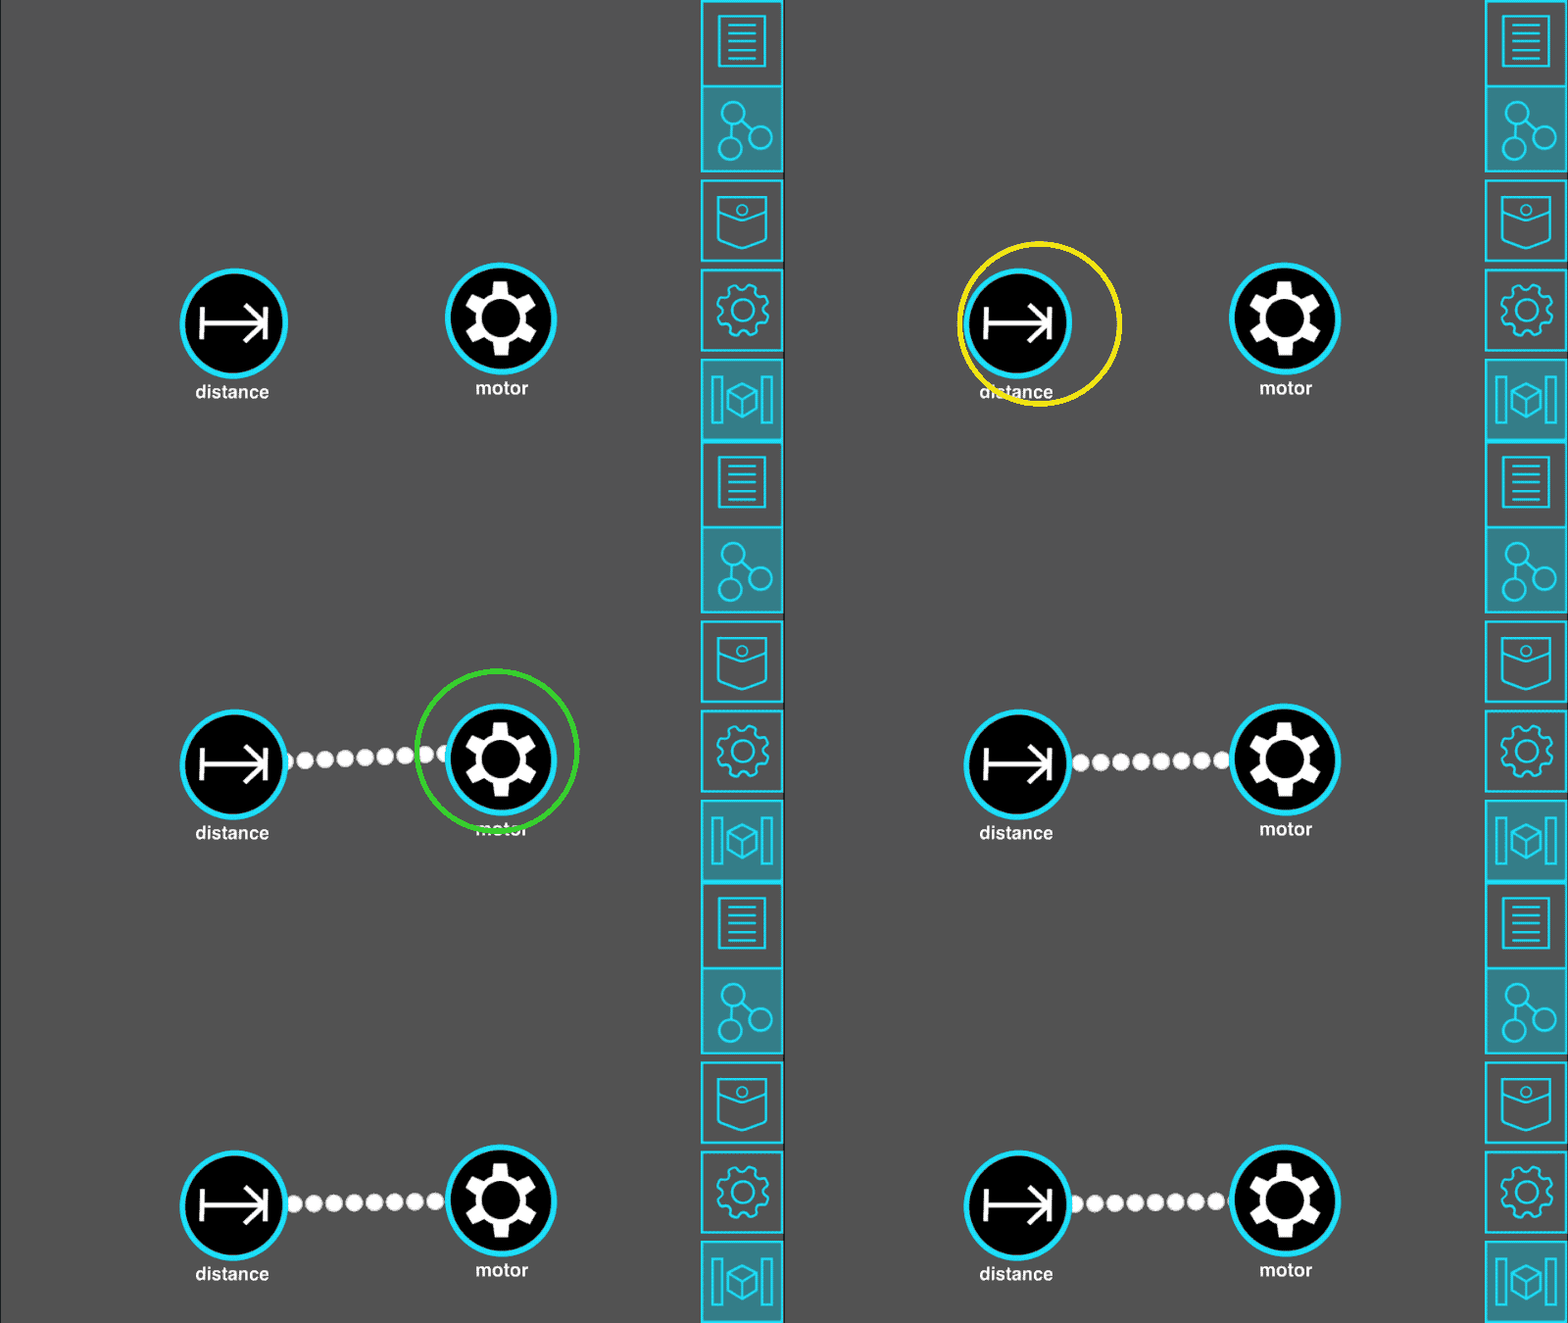
Draw Line
You can connect any two nodes by dragging a line between them.
This creates a link that will send data from the distance sensor to the motor. Any time the distance sensor receives a new value, it will send that value to the motor.
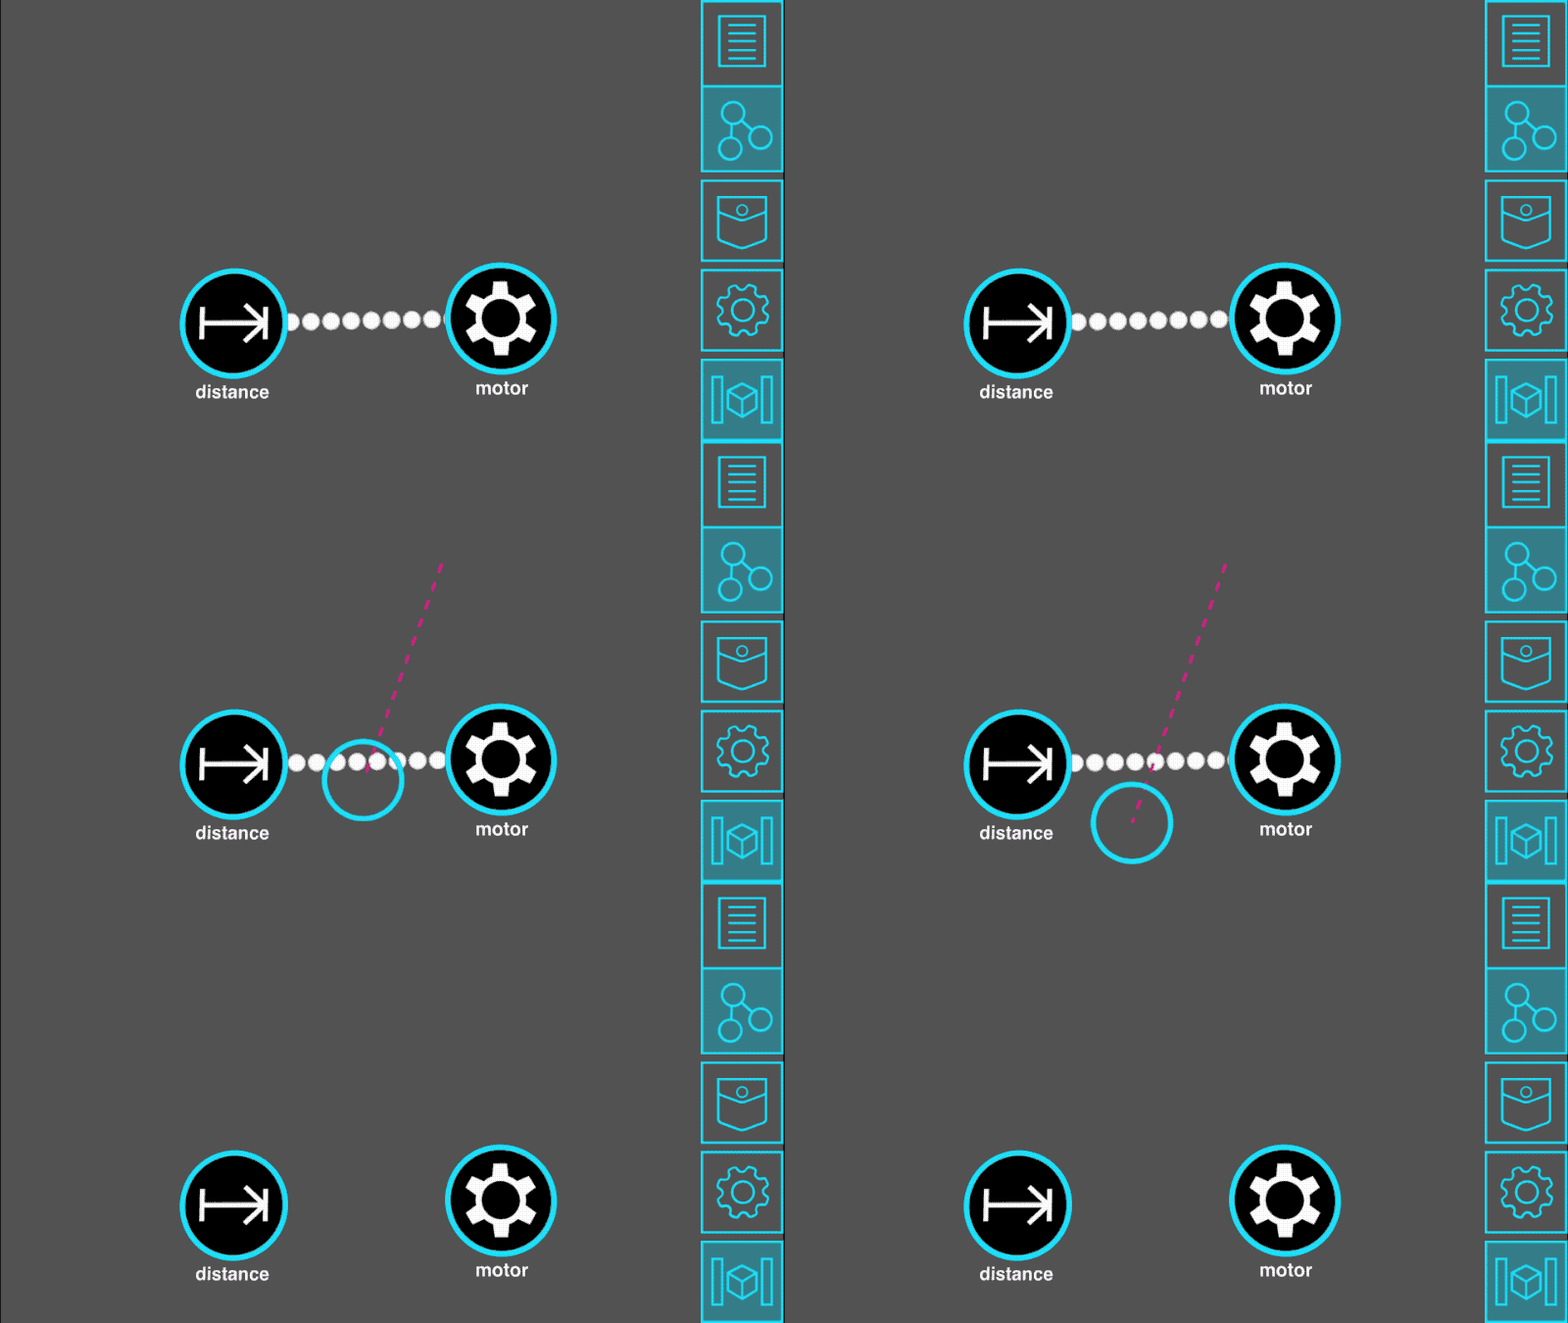
Cut Line
To delete a link, you can swipe through it to cut it.
The motor will no longer receive any data from the distance sensor.
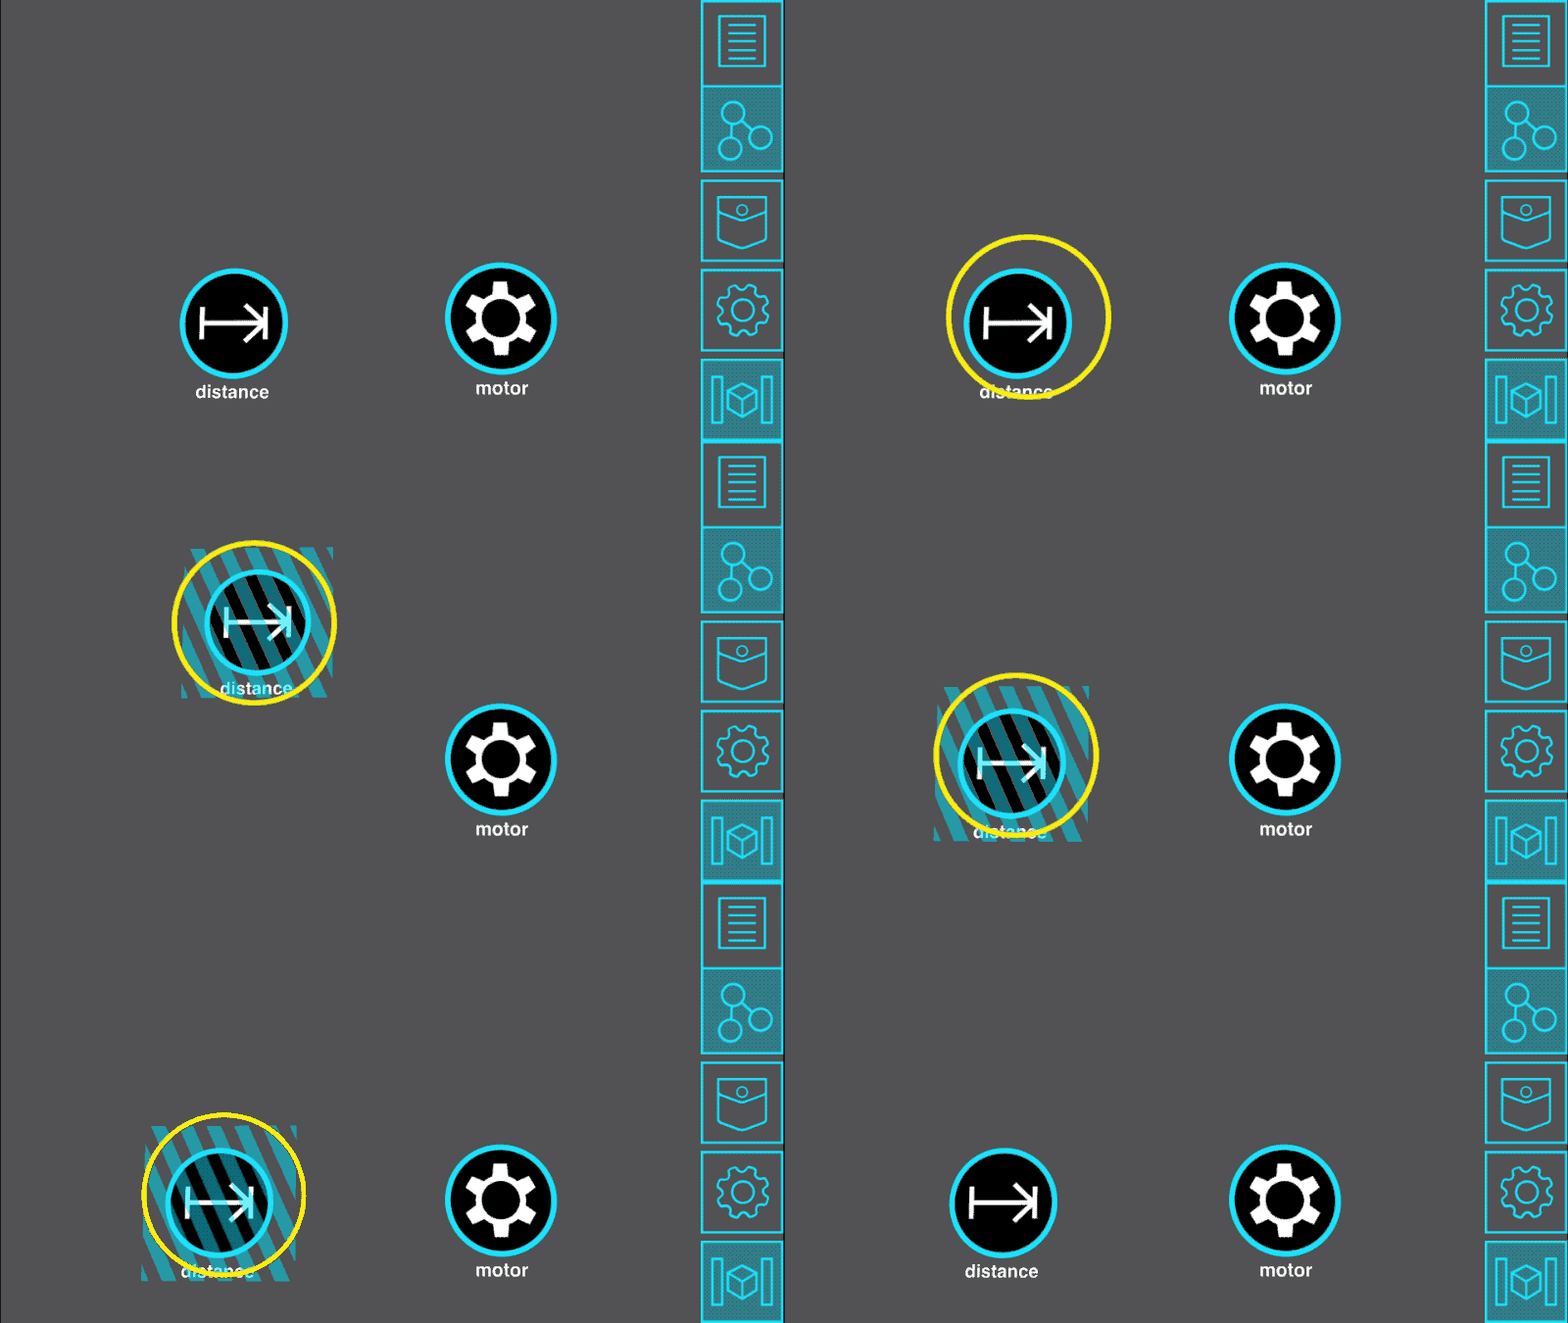
Move Node
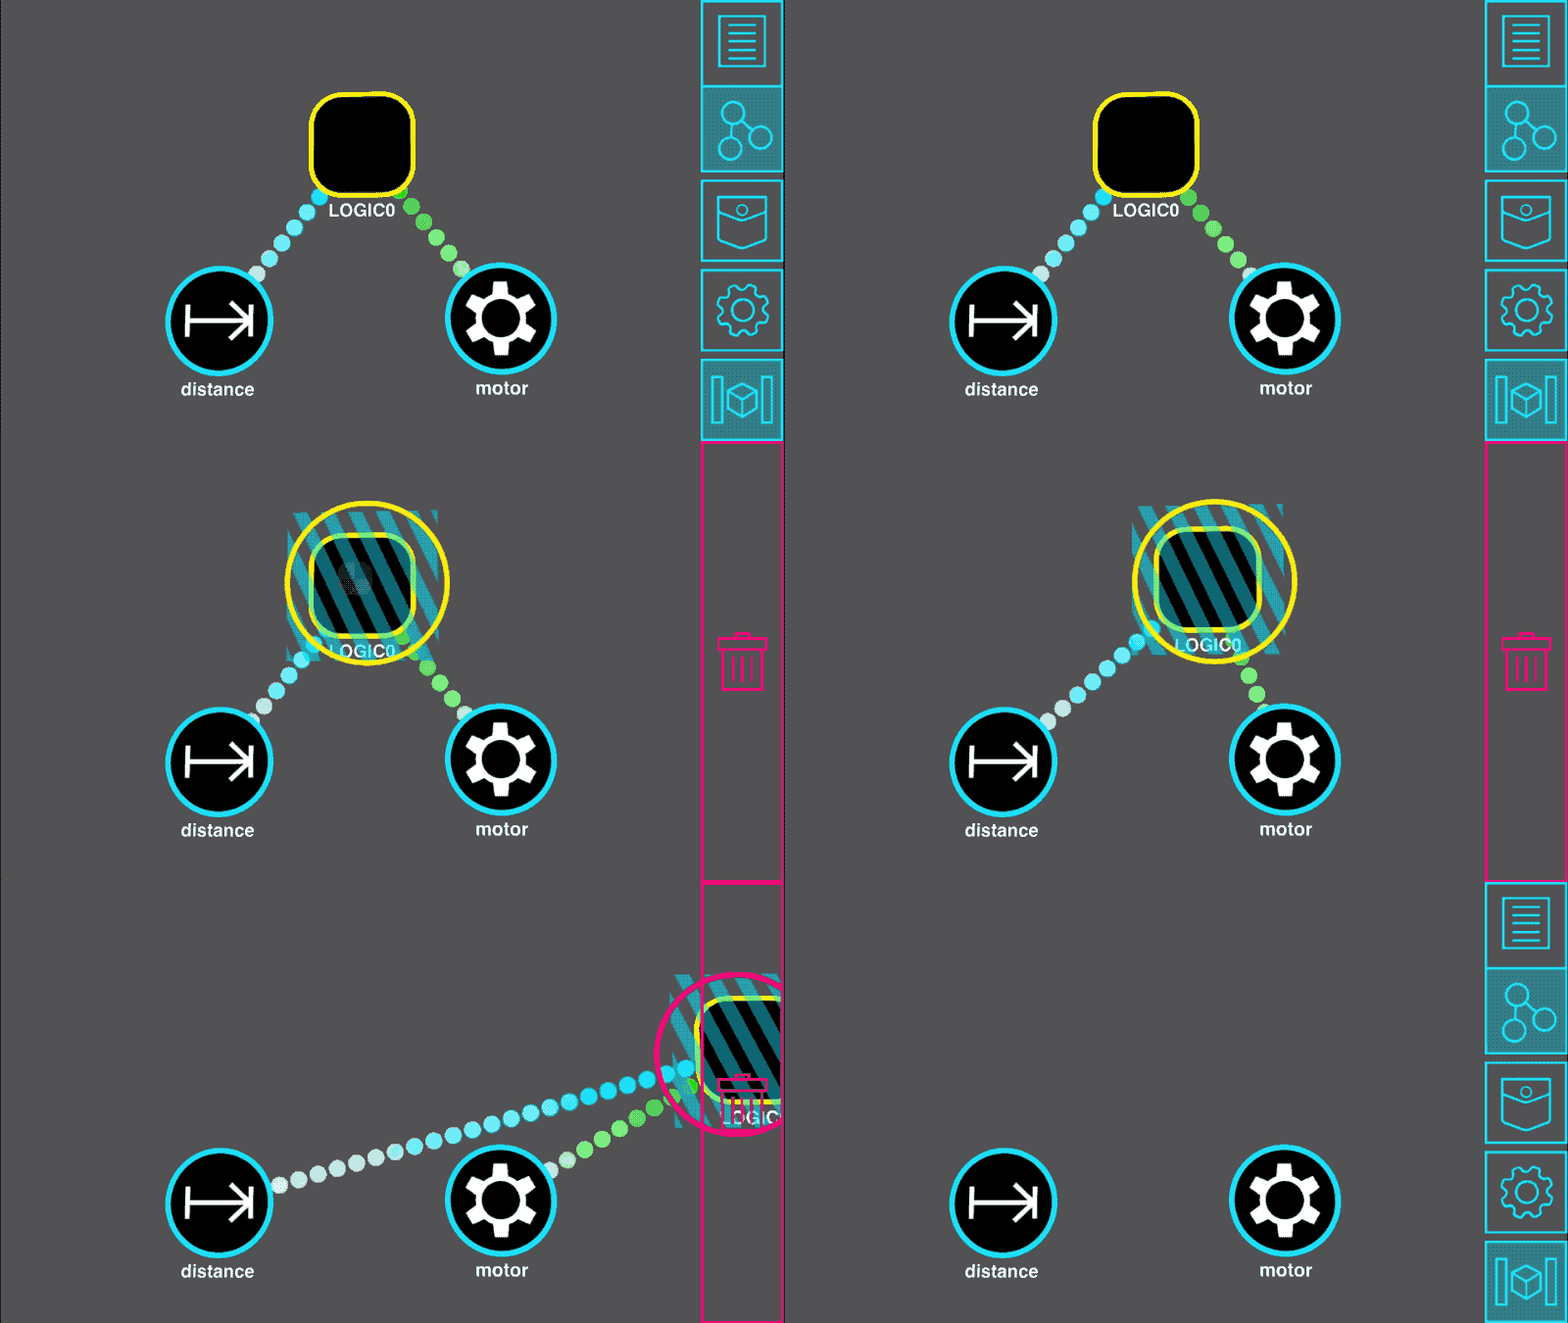
If you tap and hold on a node for long enough, you can reposition it by dragging it around. The node will be highlighted with blue stripes to show that you can move it.
This doesn’t change the behavior of the objects, but it’s useful to keep the nodes organized.
Logic Crafting is a visual programming language that lets you add more logic to how your objects interact with one another.
This step by step guide will teach you the basics of logic crafting: how to add a logic node, how to build a basic program, and how to link everything together.
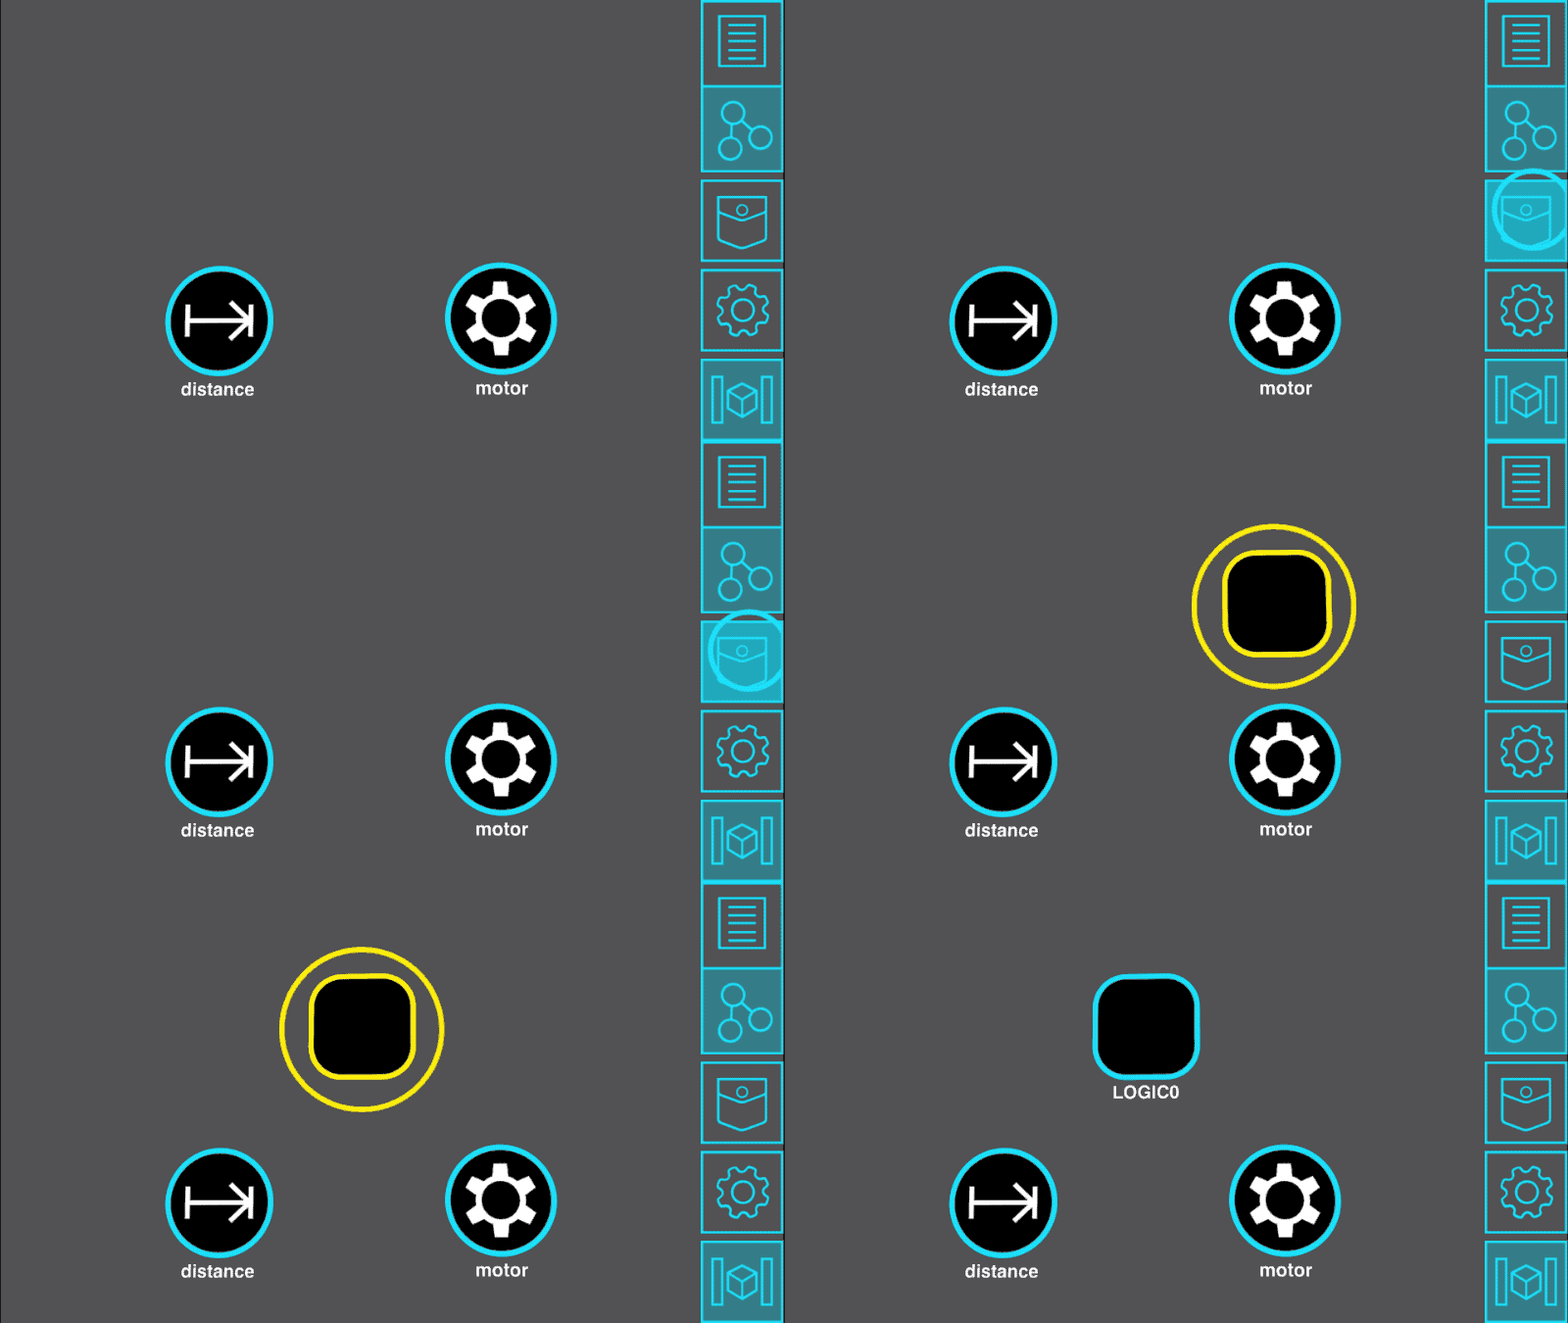
Add Logic Node
Dragging out from the pocket button will create a new logic node that you can place onto an object. You can add multiple logic nodes if you wish.
Logic nodes let you manipulate the data that flows between objects with added logic, math, and other effects.
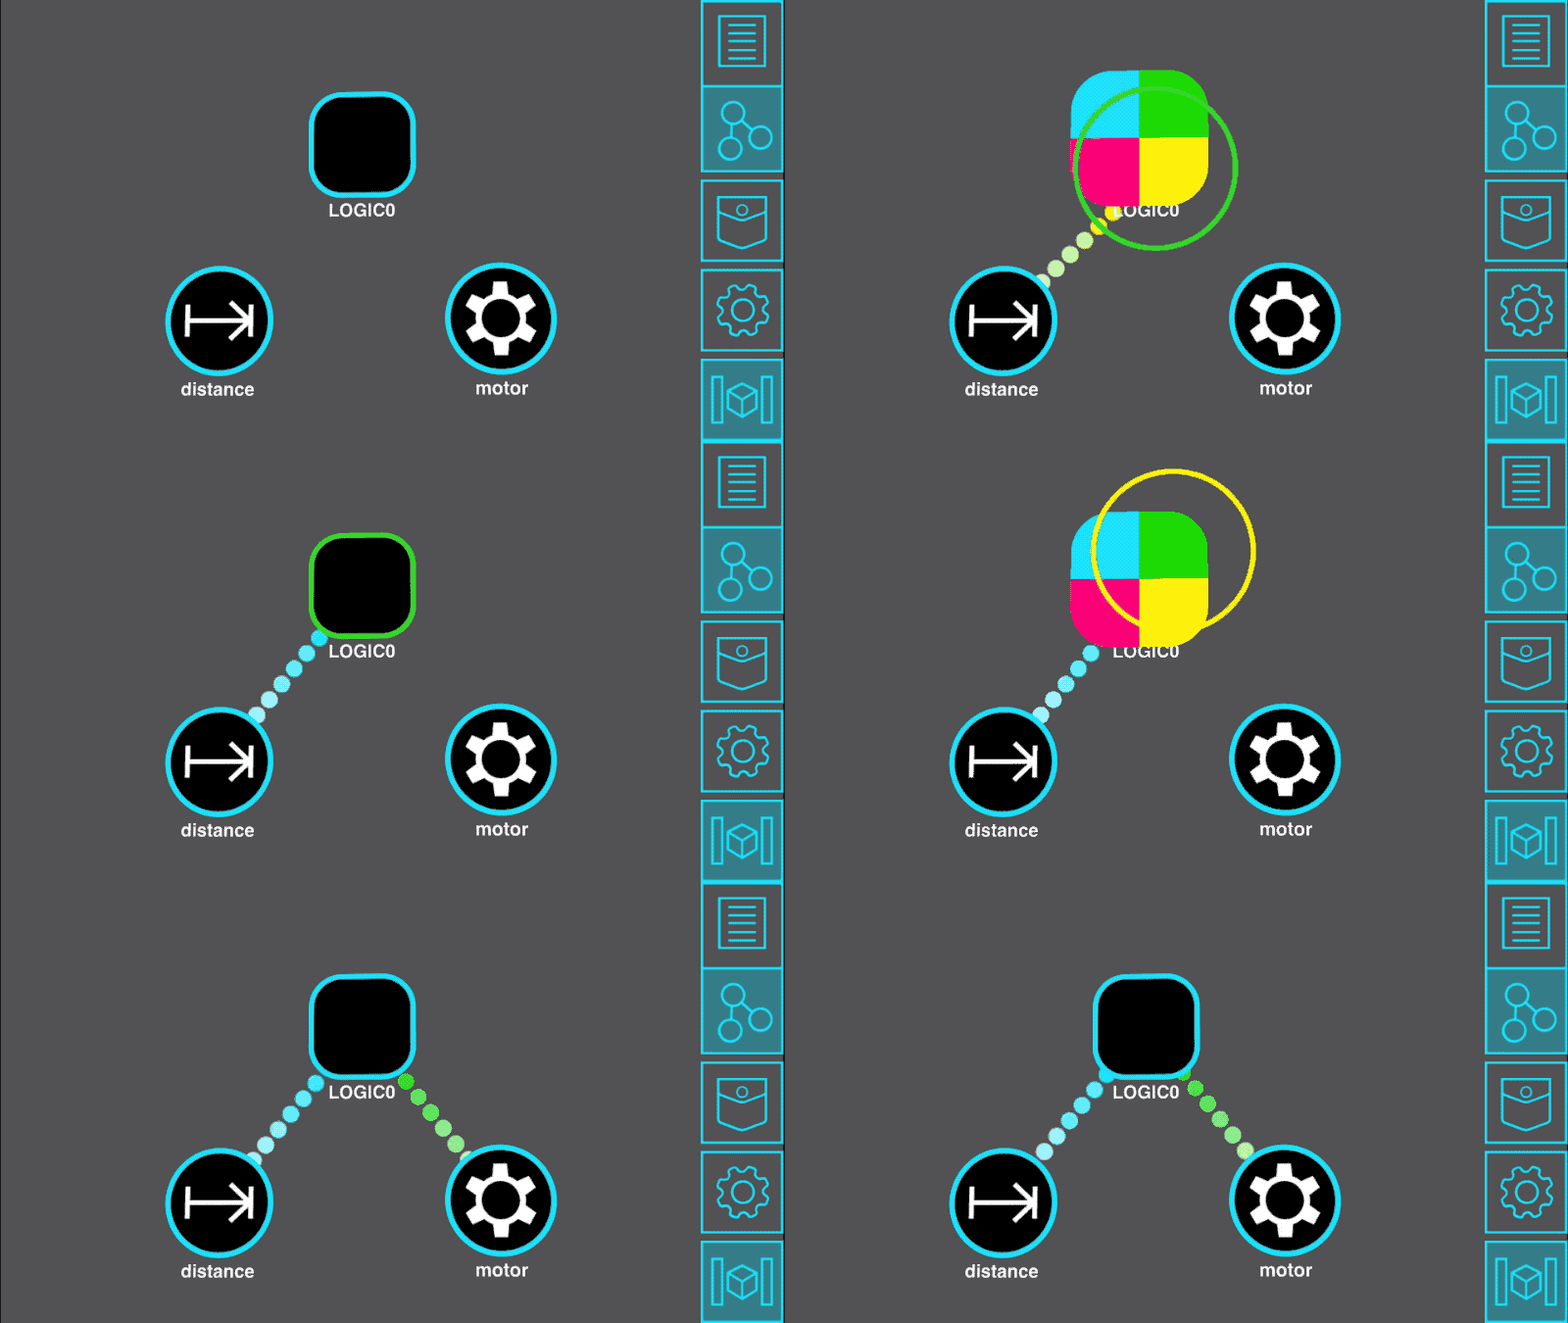
Add Logic Links
Creating a link to a logic node lets you choose a color for it: blue, green, yellow or red. You can also choose a color for links drawn out of a logic node. The color of this link determines what it will connect to within the logic node.
This sends the distance sensor values into the blue input of the logic node, and sends processed values out of the green output and into the motor.
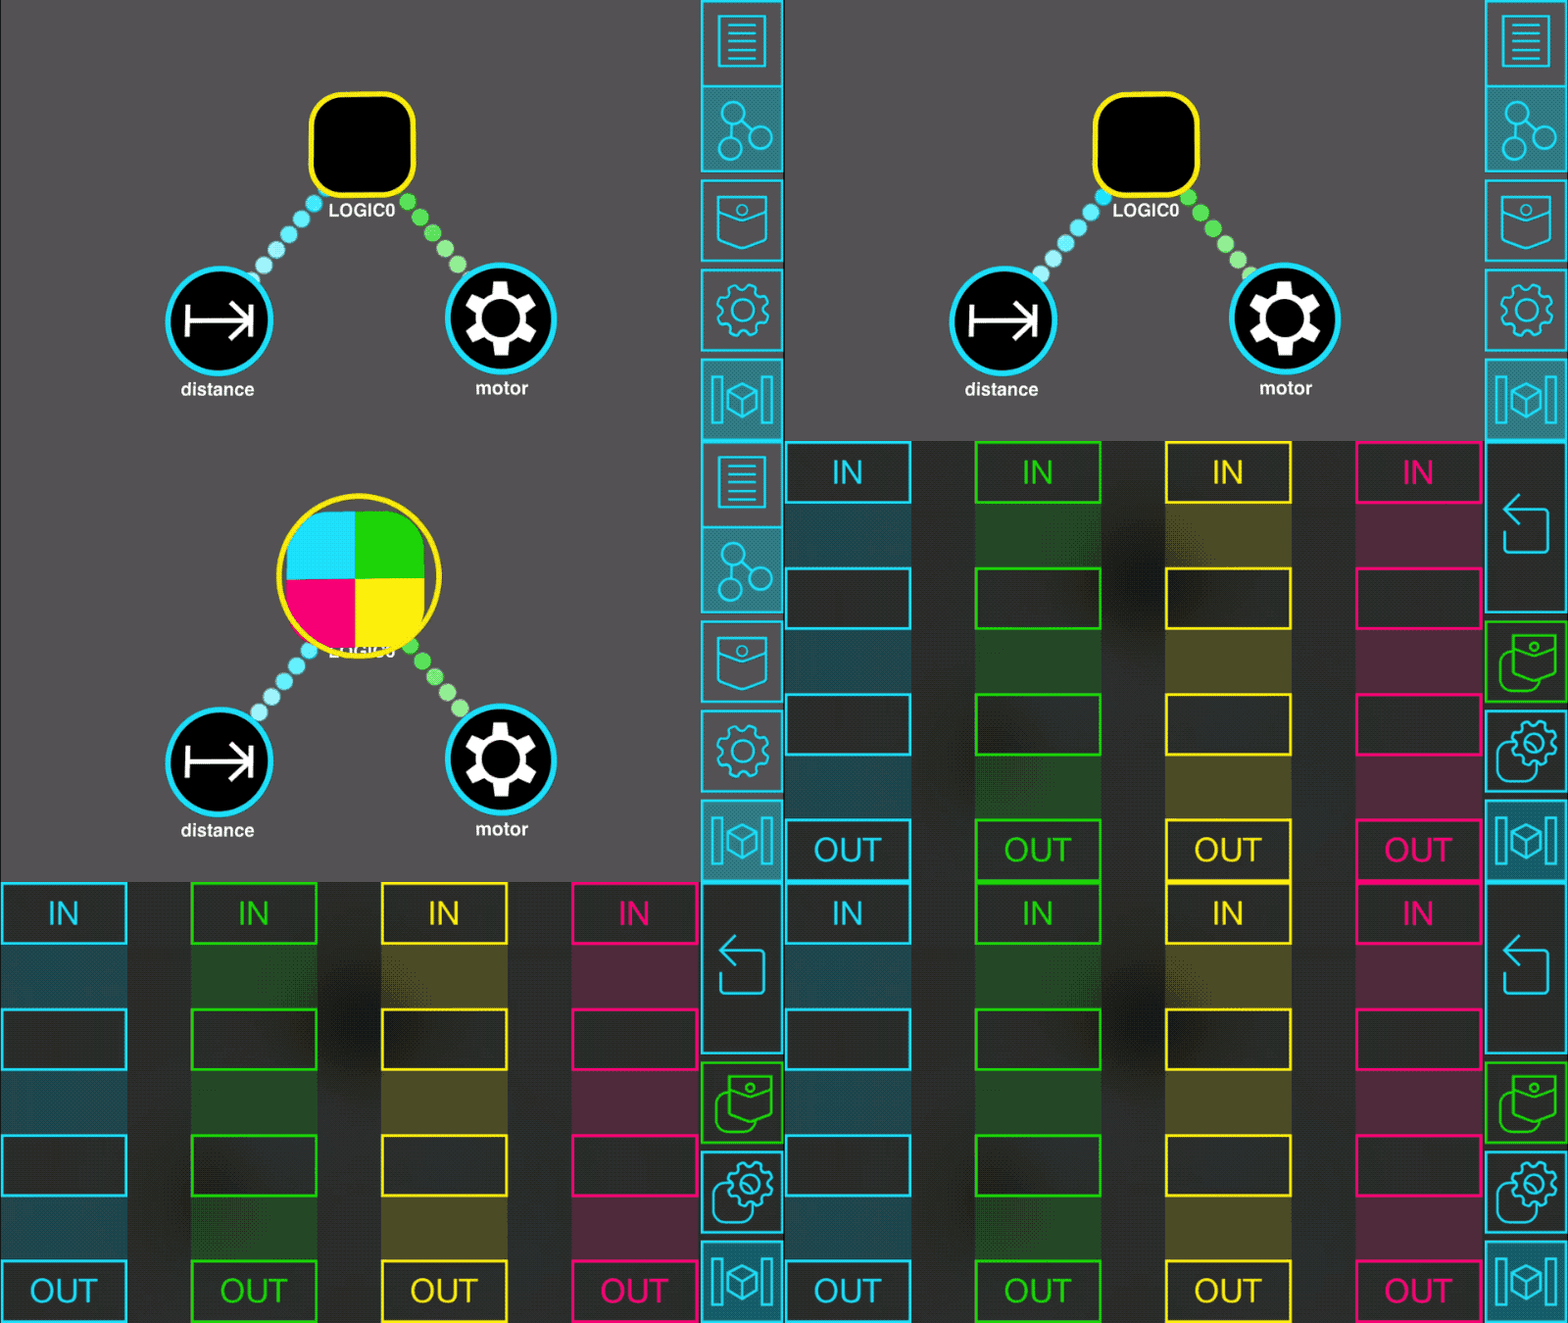
Open Logic Node
Tapping on a logic node opens its crafting board, where you can construct a program that affects the data flowing from its inputs to outputs. The crafting board is a grid where logic blocks can be placed and linked together.
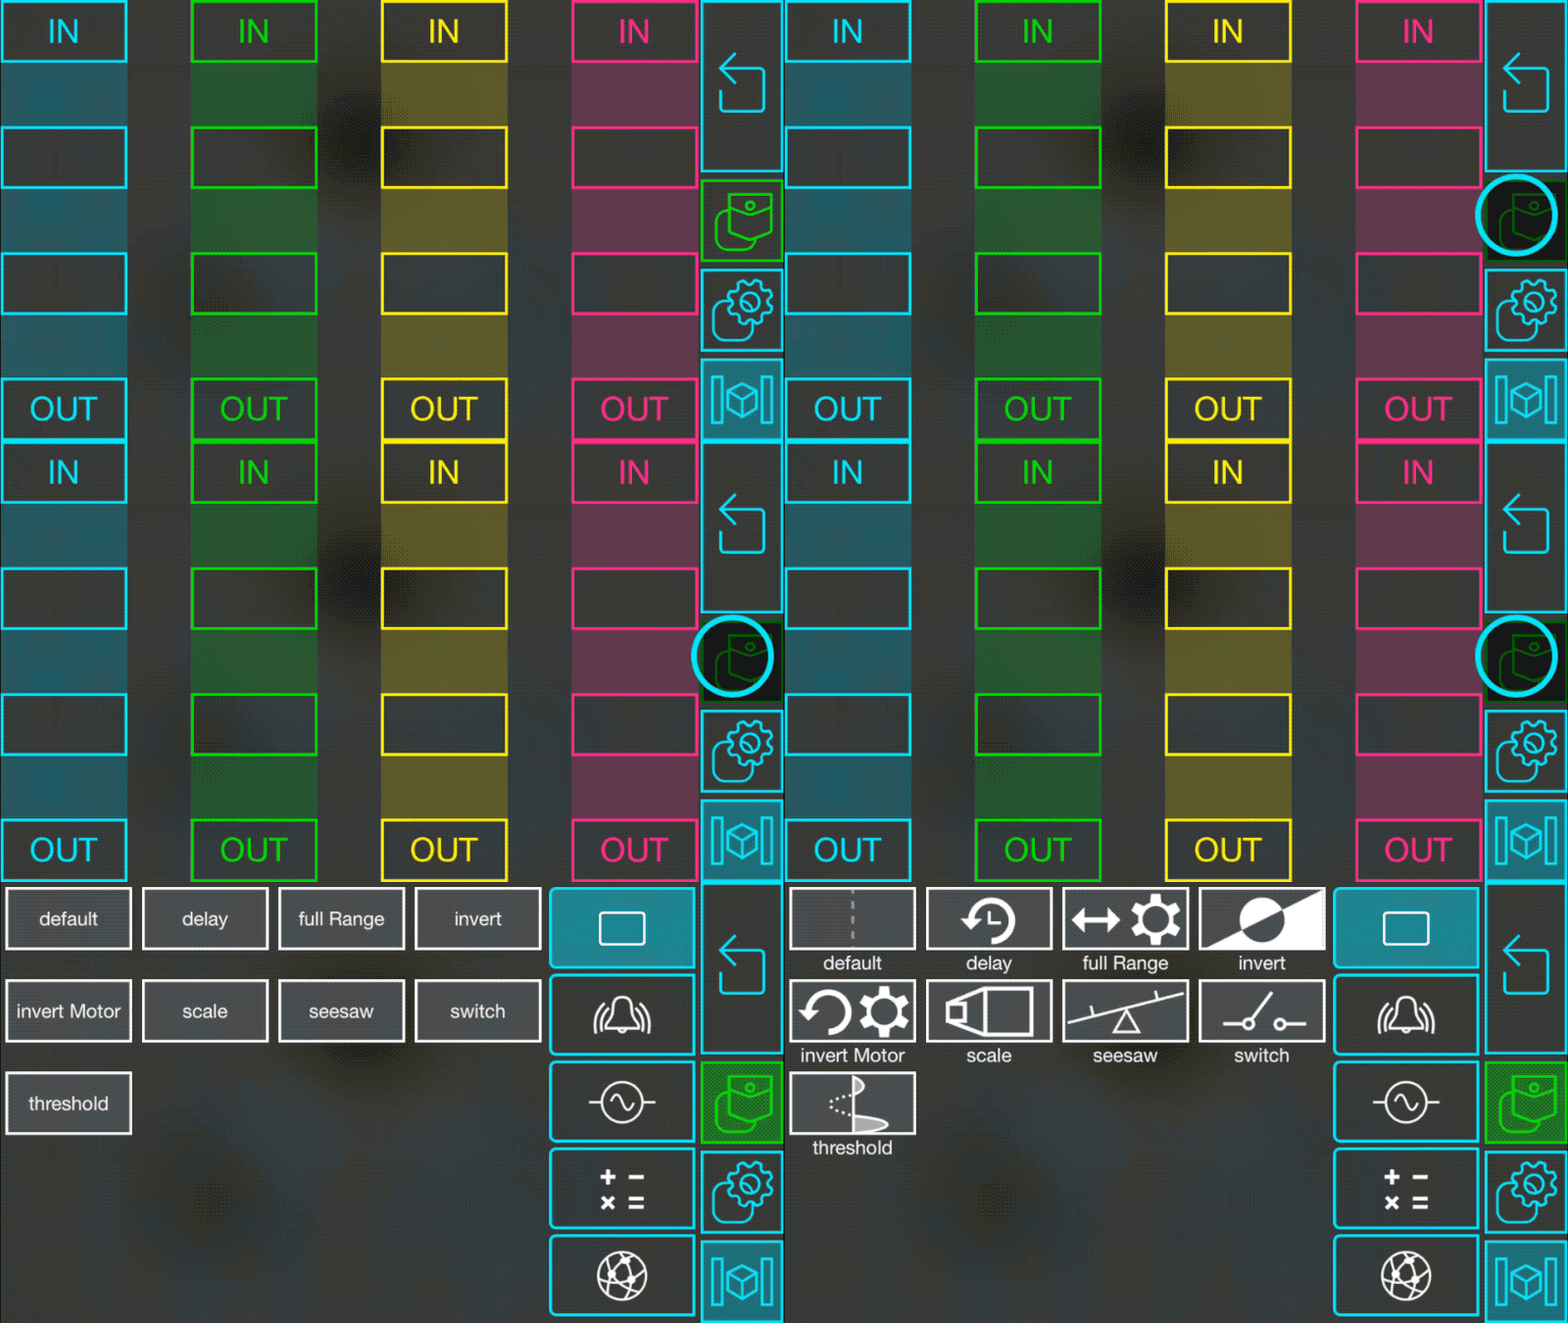
Open Logic Menu
To select blocks for the crafting board, you first need to open the logic menu, which displays a list of blocks you can choose from.
A full list of blocks can be seen here.
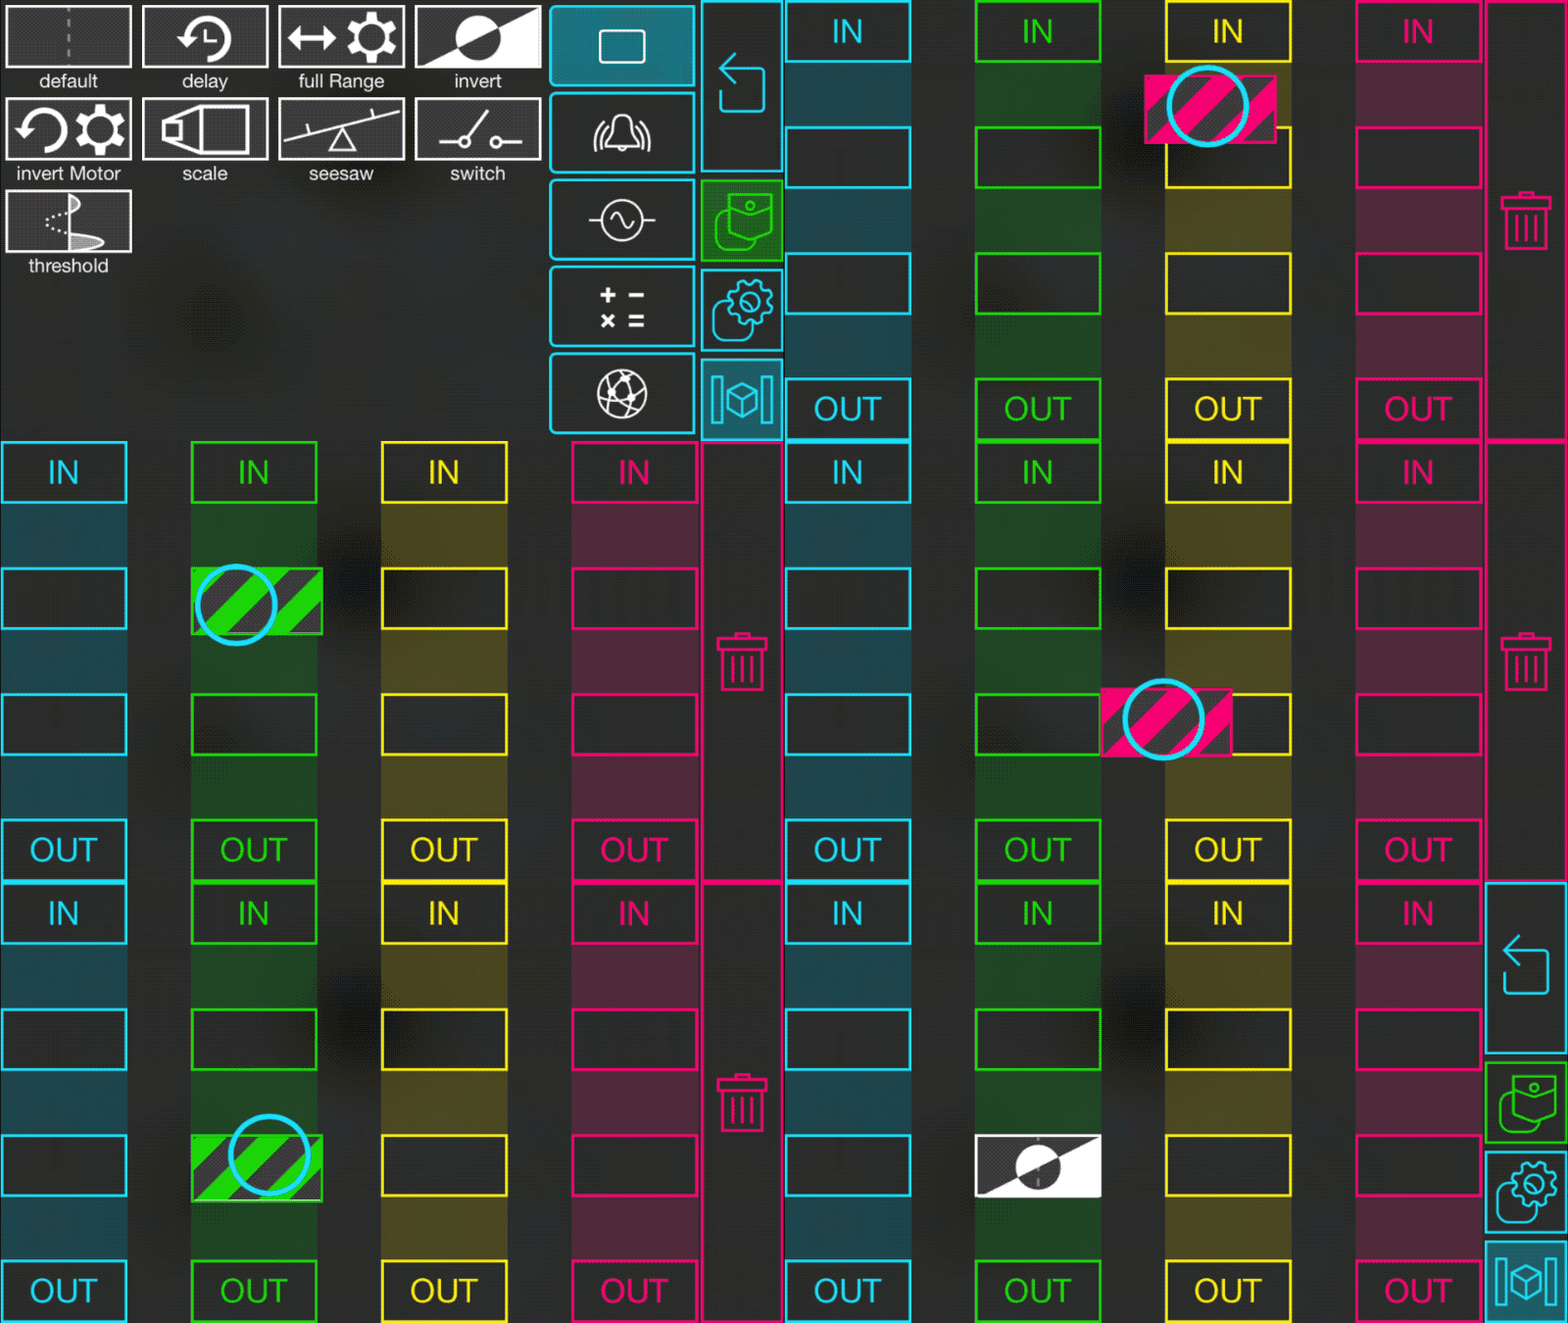
Add Block
Dragging a block from the logic menu will hide the menu and let you place the block into the crafting board. Blocks will snap to the closest cell.
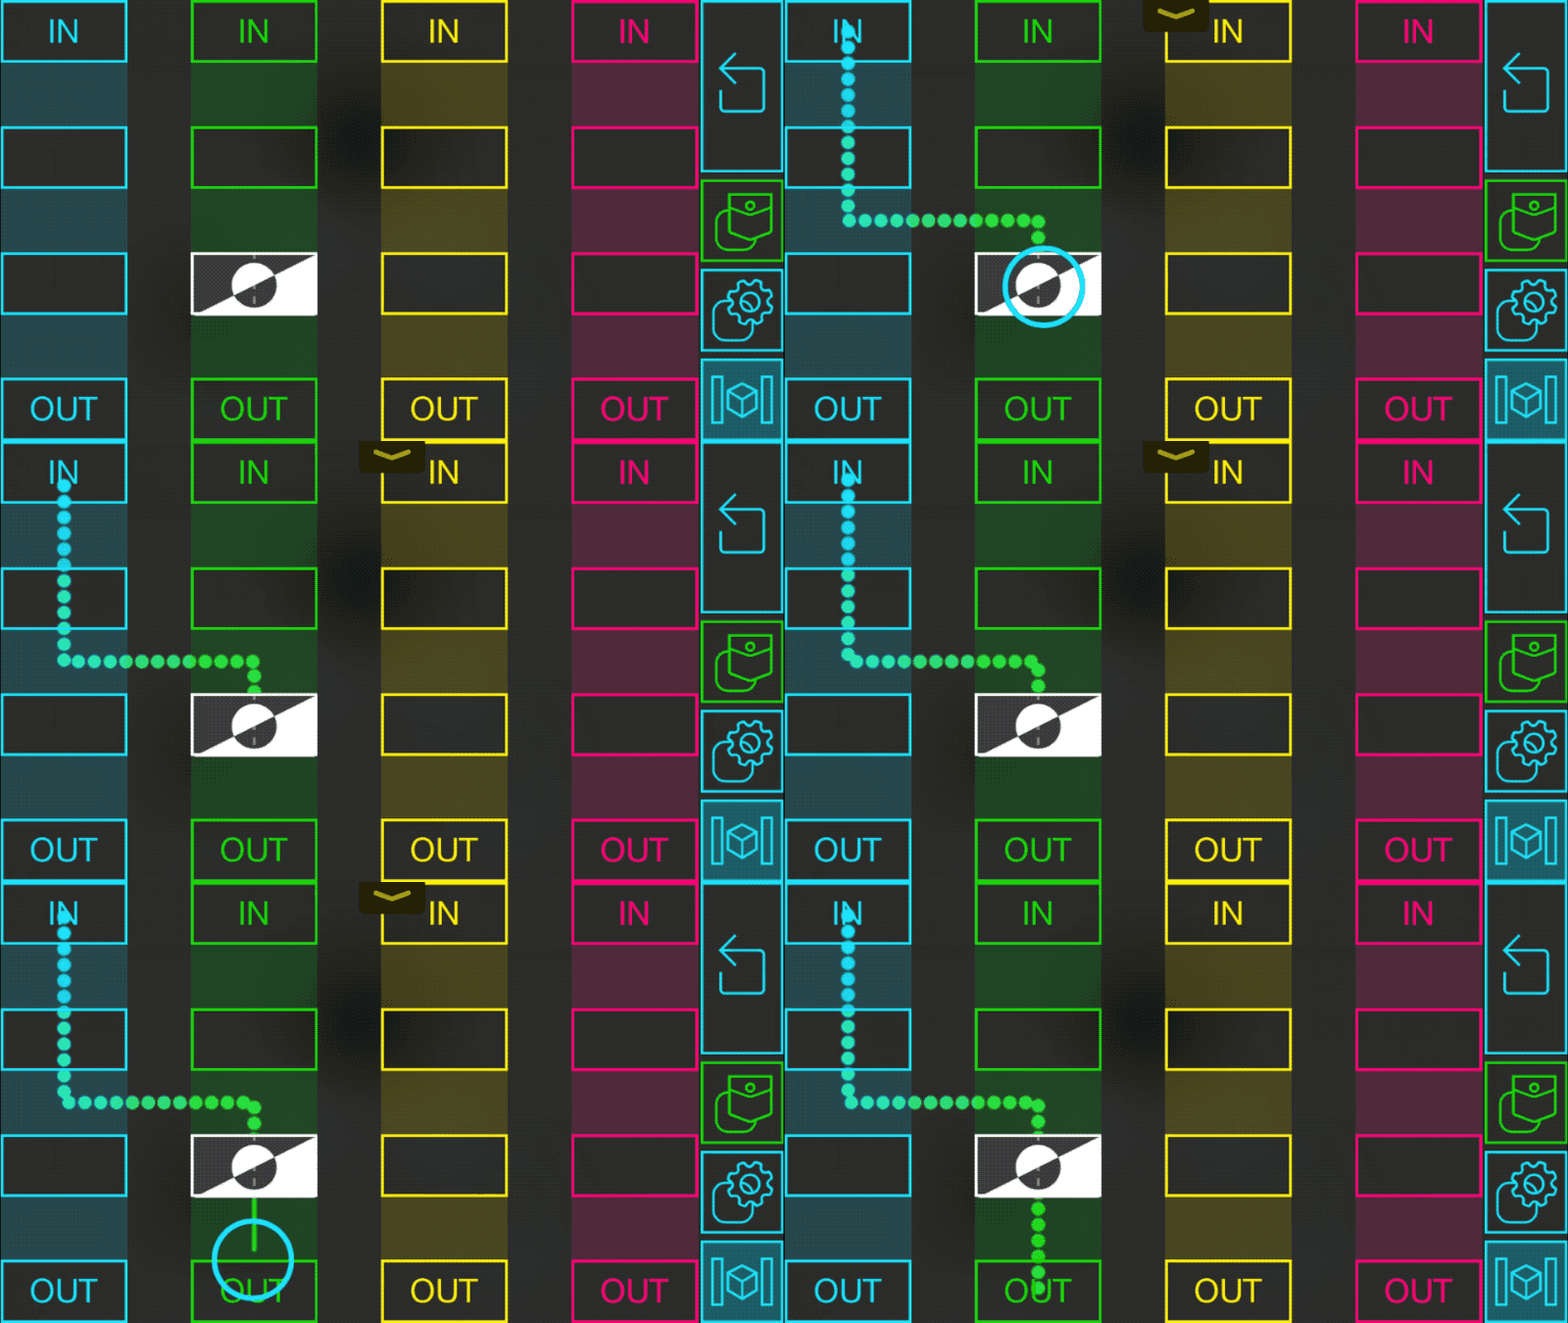
Add Block Links
Drawing lines between blocks, inputs, or outputs will create a link. To create a working program, you need to make a path from an input to an output.
Since we connected distance sensor to the blue input, and the motor to the green output, we link the blue input to an inverter block and link that block to the green output.
This will send inverted values from the sensor to the motor.
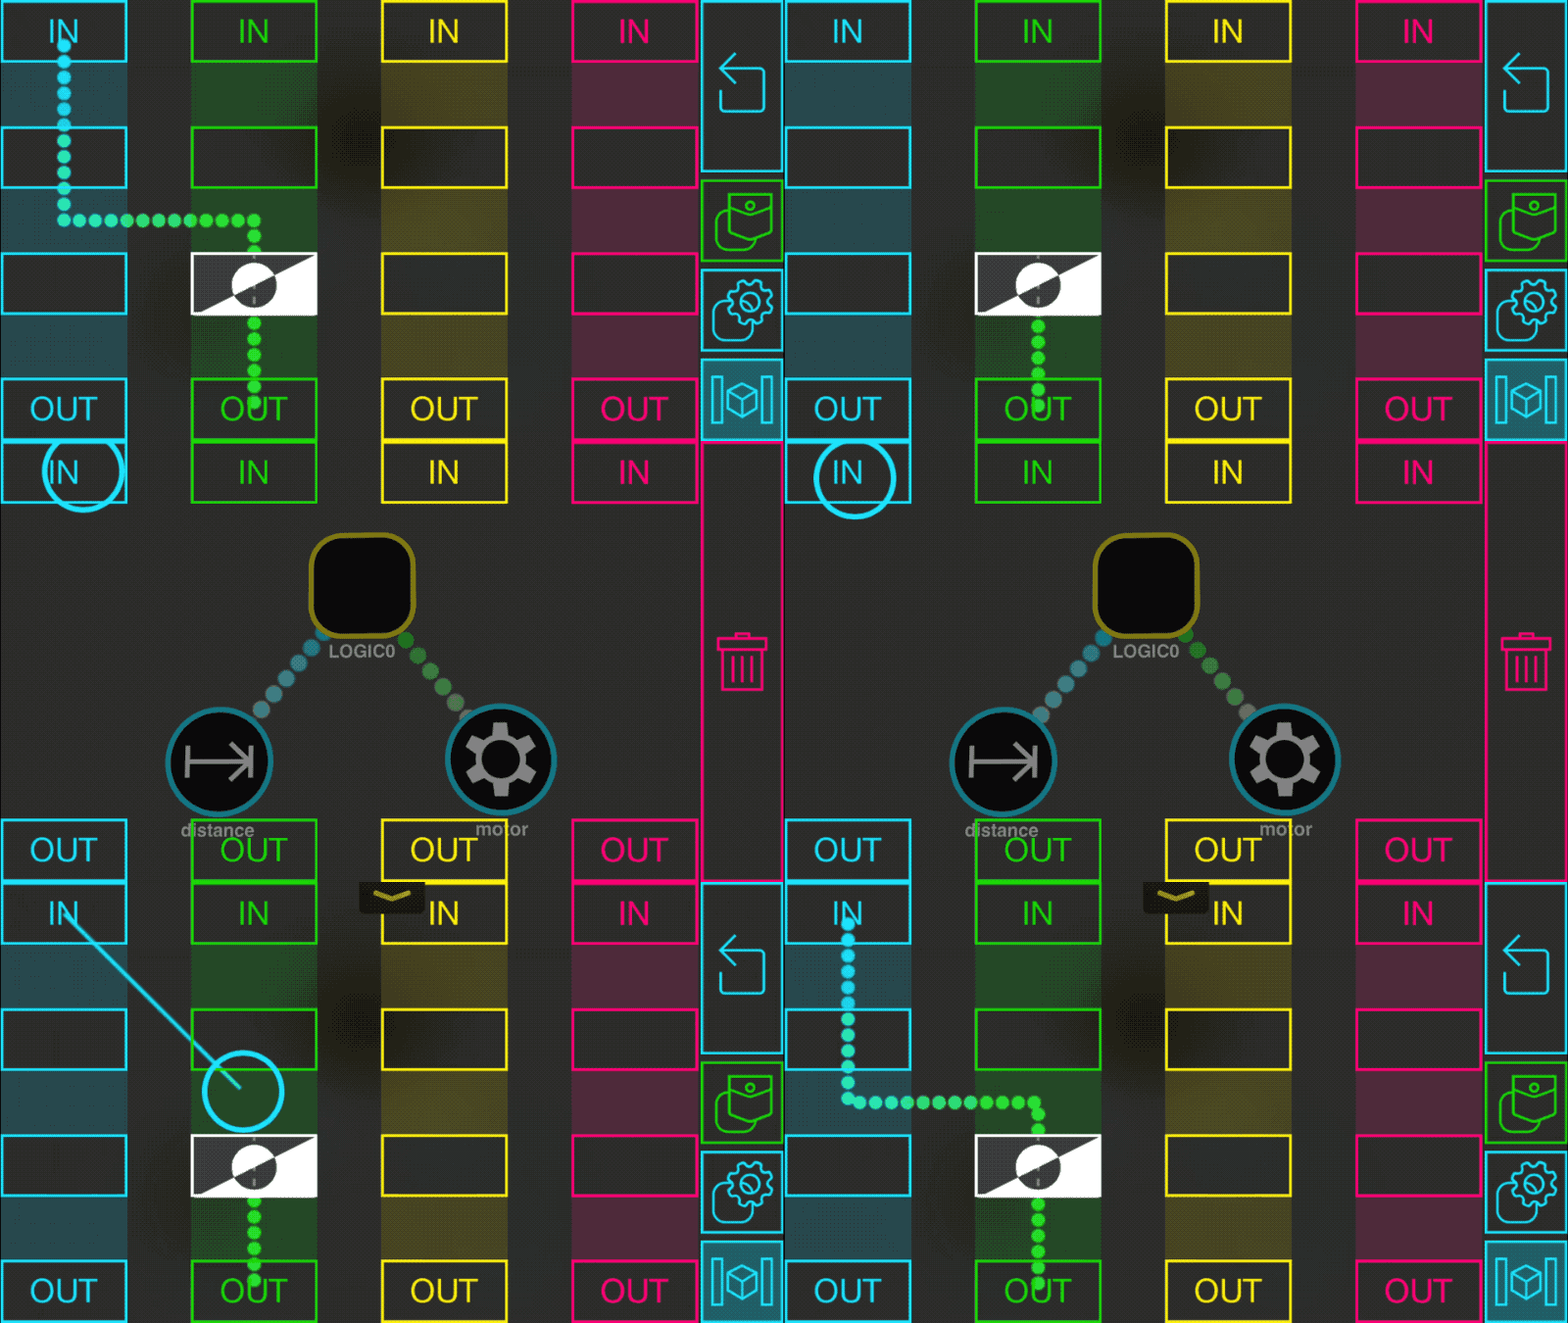
Sneak Through
If you forget which colors you used when you connected the sensor or the motor to the logic node, you can tap and hold on any of the input or outputs to see a preview of the connected nodes in the background.
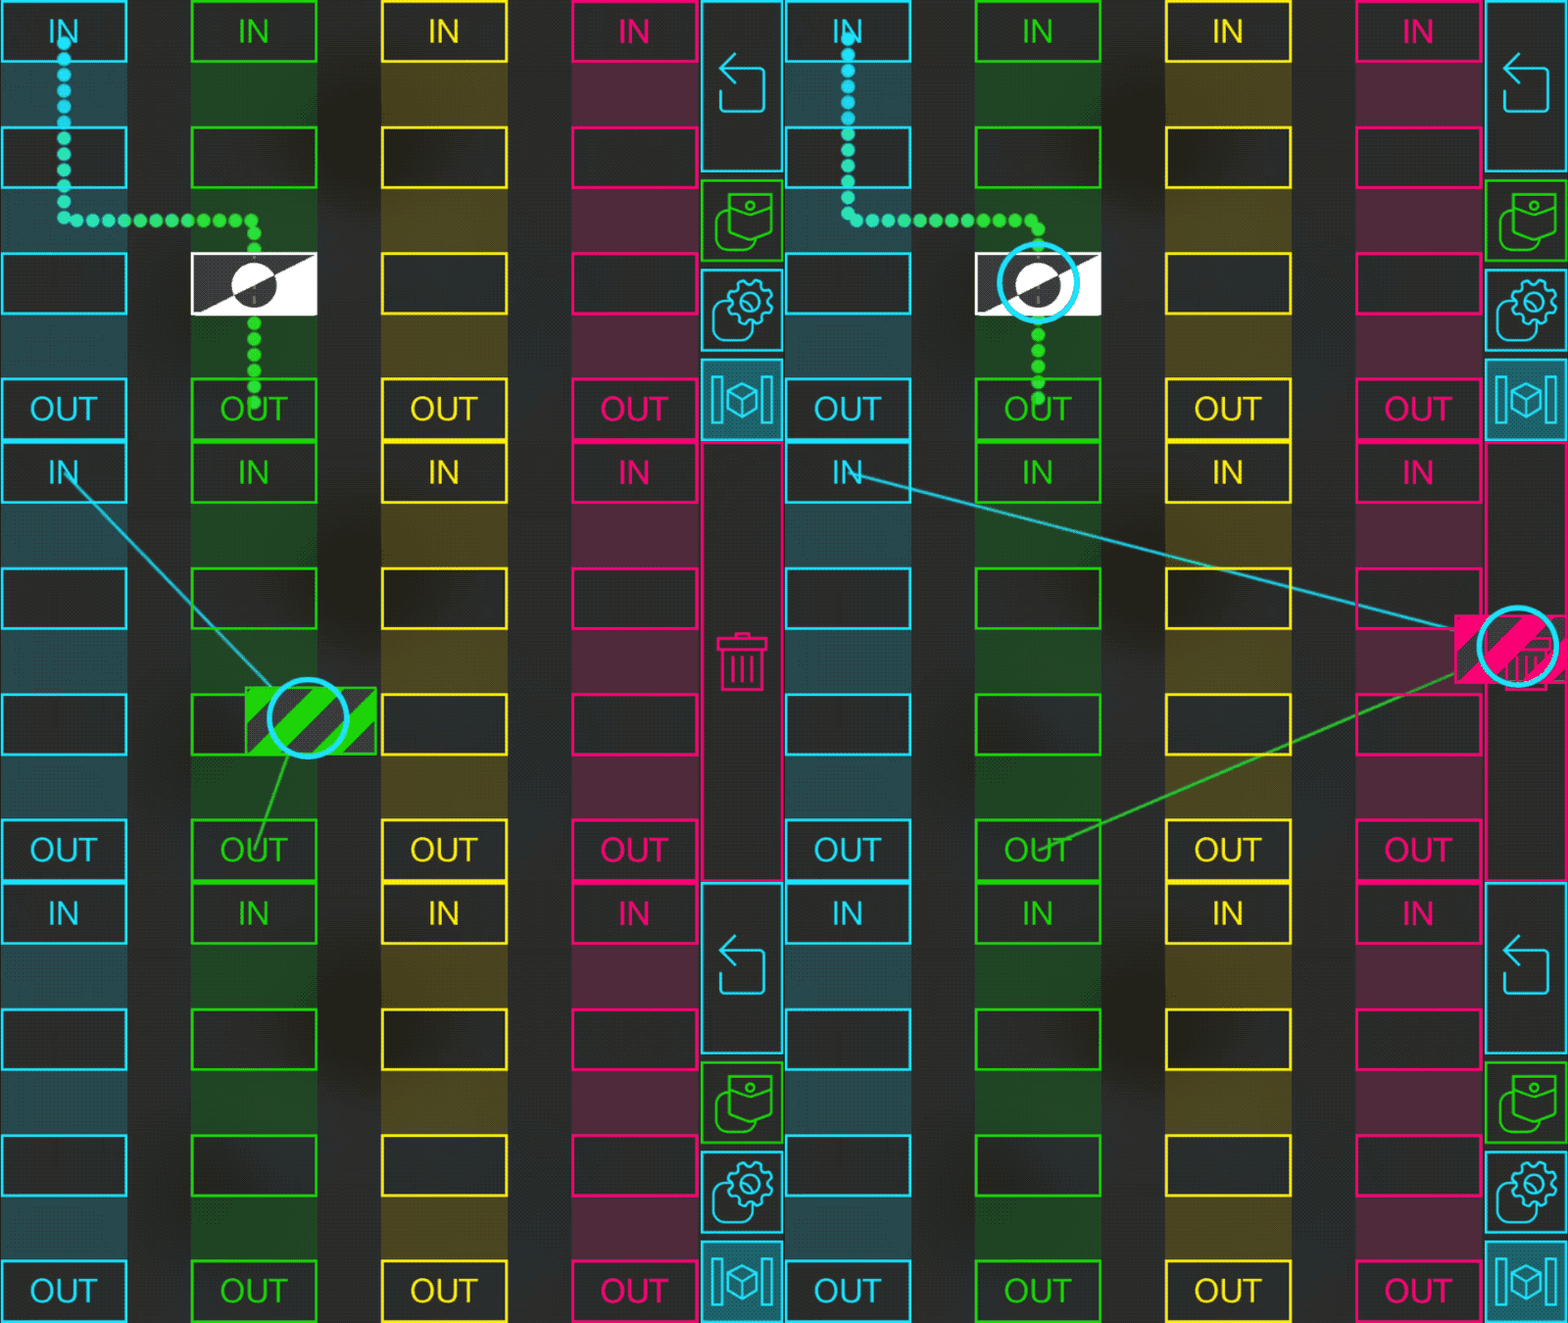
Delete Block
Tapping and holding a block for long enough lets you move it around the crafting board. You can place it in a different cell, or you can drop it on the delete button to remove it and any of the links connected to it.
Delete Logic Node
Pressing the back button will hide the crafting board and show the nodes again.
You can delete logic nodes the same way you delete blocks. Tap and hold to move it, then drag it onto the delete button.
These basic interactions can be used to build a wide variety of logical interactions between your objects. Some example programs are demonstrated on the Logic Nodes Sharing page.
Interface Components
Interface Components let you build user interfaces for your objects by dragging and dropping controls onto them. These include joysticks that send data, and graphs that receive and visualize data from a connected node.
Add Component
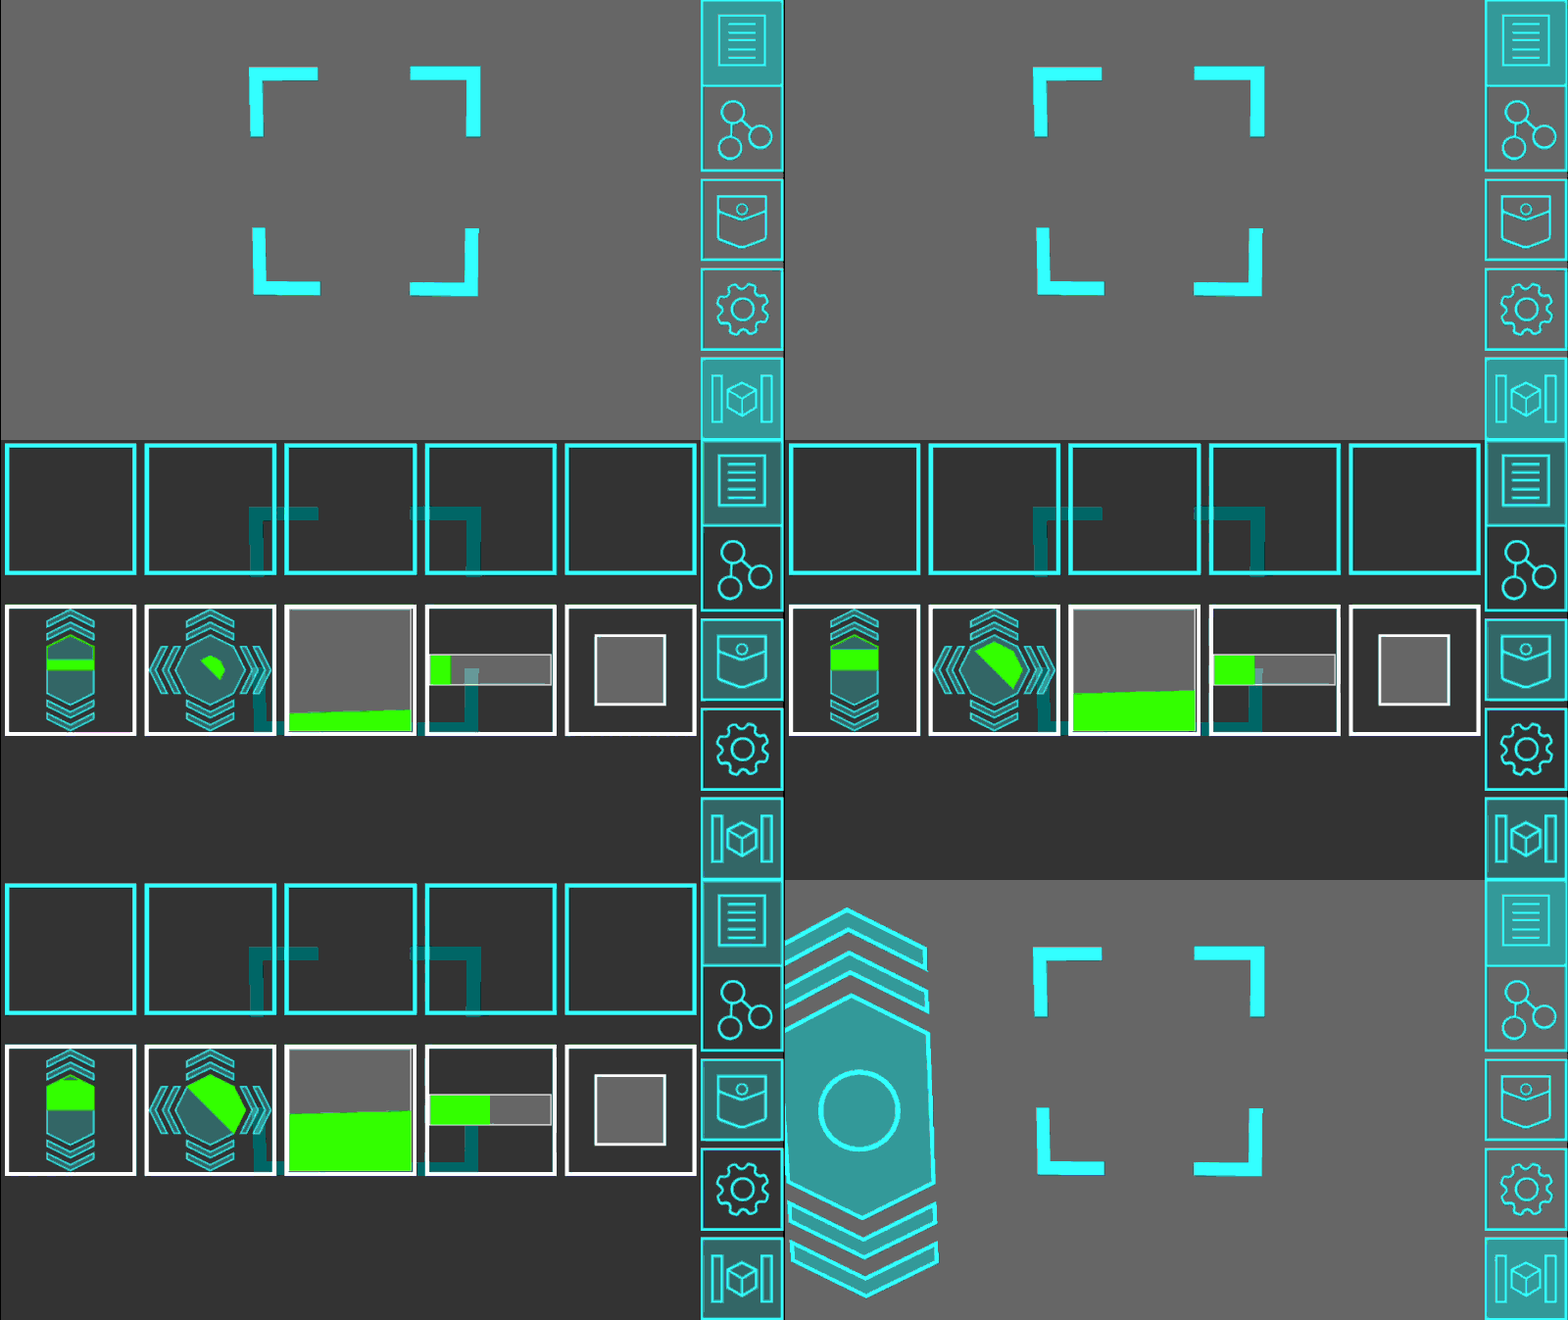
While viewing the interfaces, selecting the pocket button will open a menu with a selection of interface components. These can be used to build remote controls or visualizers for your objects.
Drag a component from the menu to add it to your interface.
Move Component
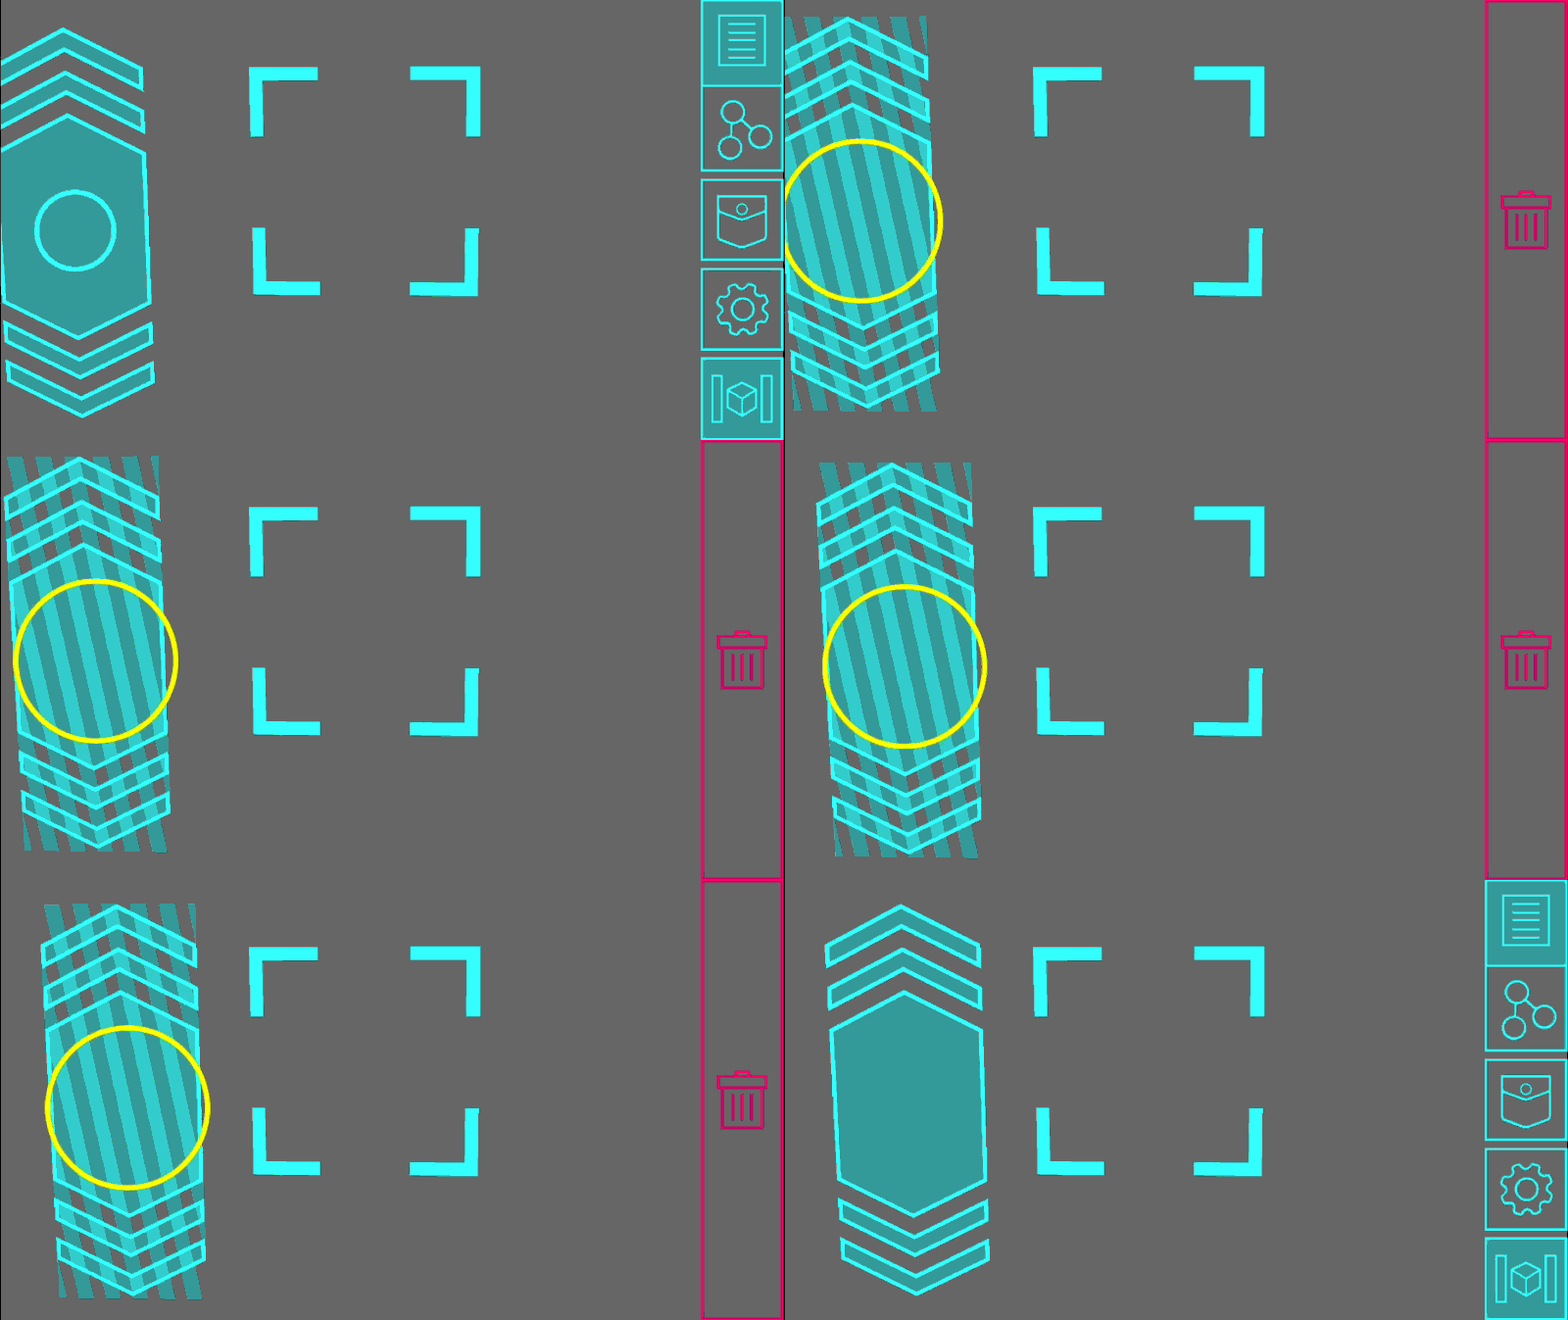
Tap, hold, and drag the component to reposition it within the interface.

Link Component
Interface components have a node for their data, just like sensors and motors.
Tap on the crafting button to view the node, which can be linked to the motor in the same way as the sensor was.
Now the slider control will send values to the motor when you interact with it.
Control Using Component
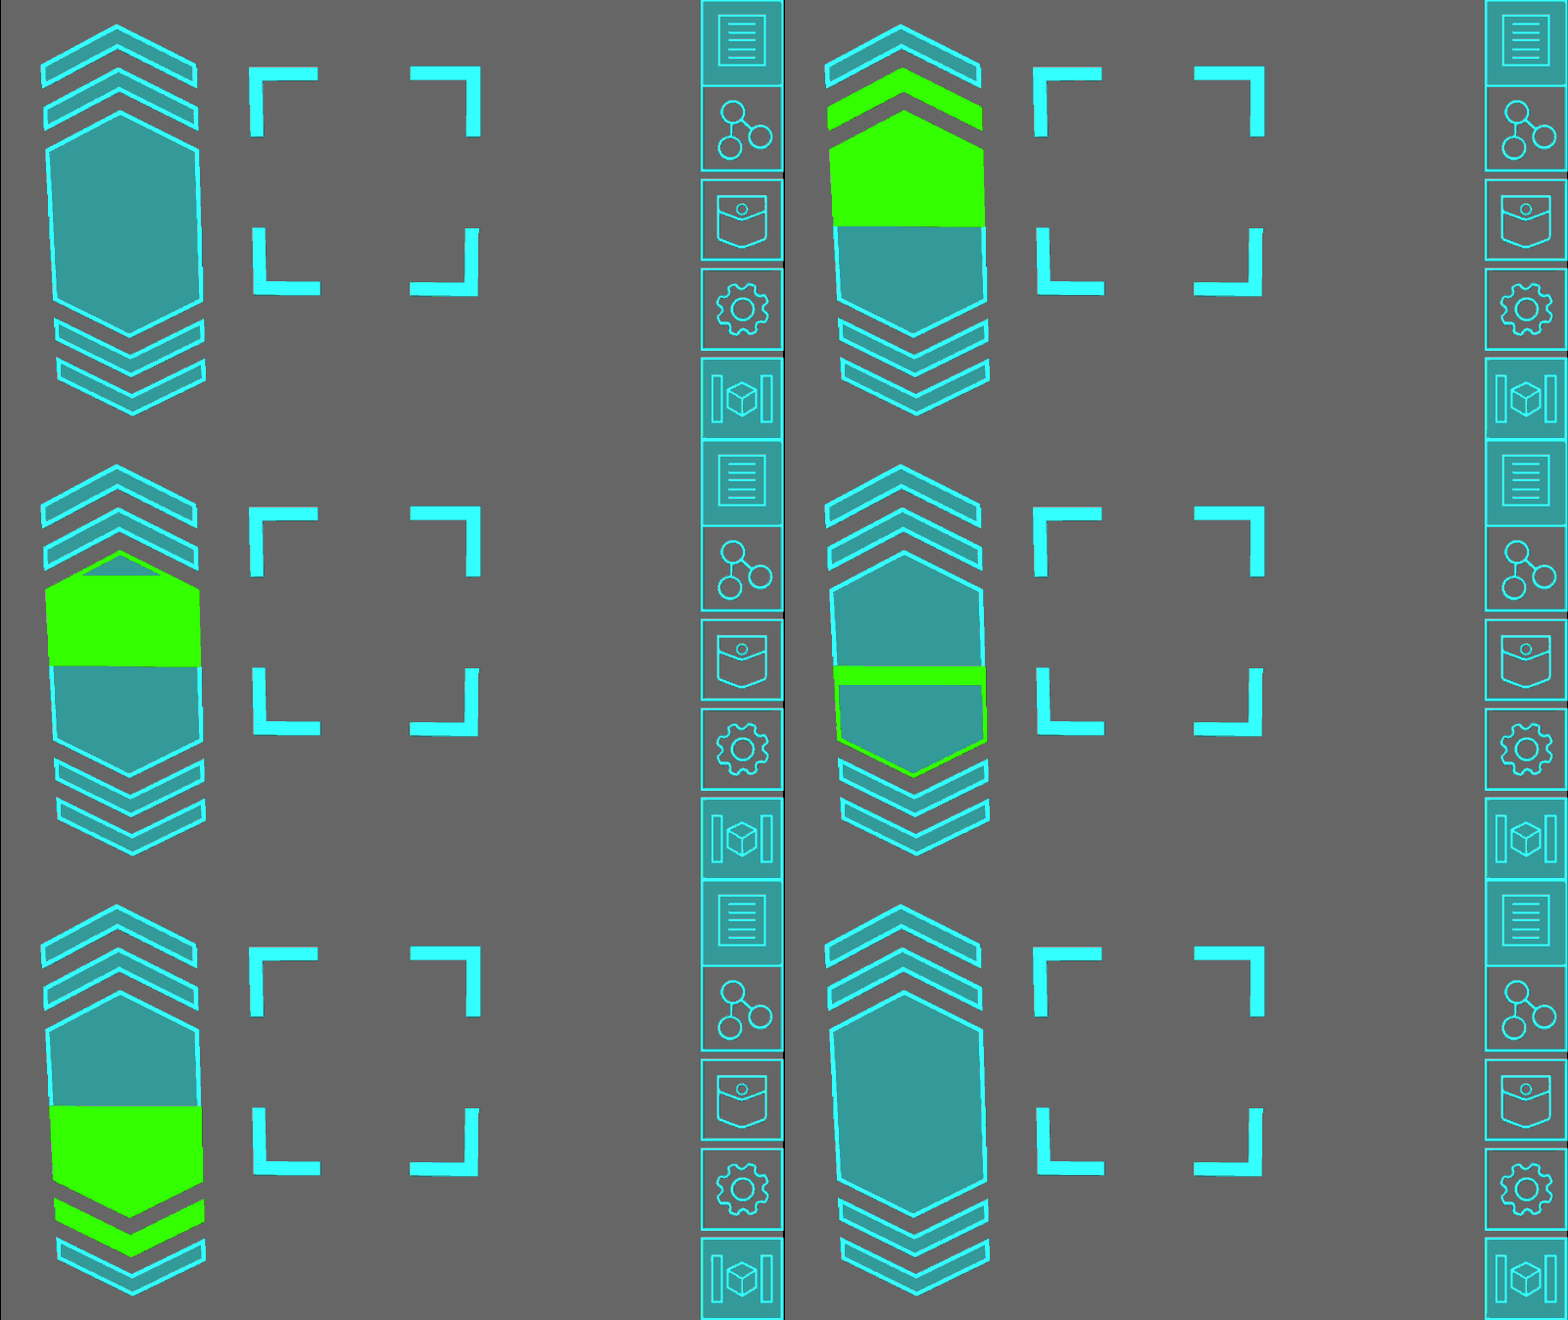
Sliding your finger on the component will change its appearance and send values between 0 and 1 out of its node.
In this example, the slider will change the speed of the motor. This is useful for building remote controls for your objects using only your phone.
Memories
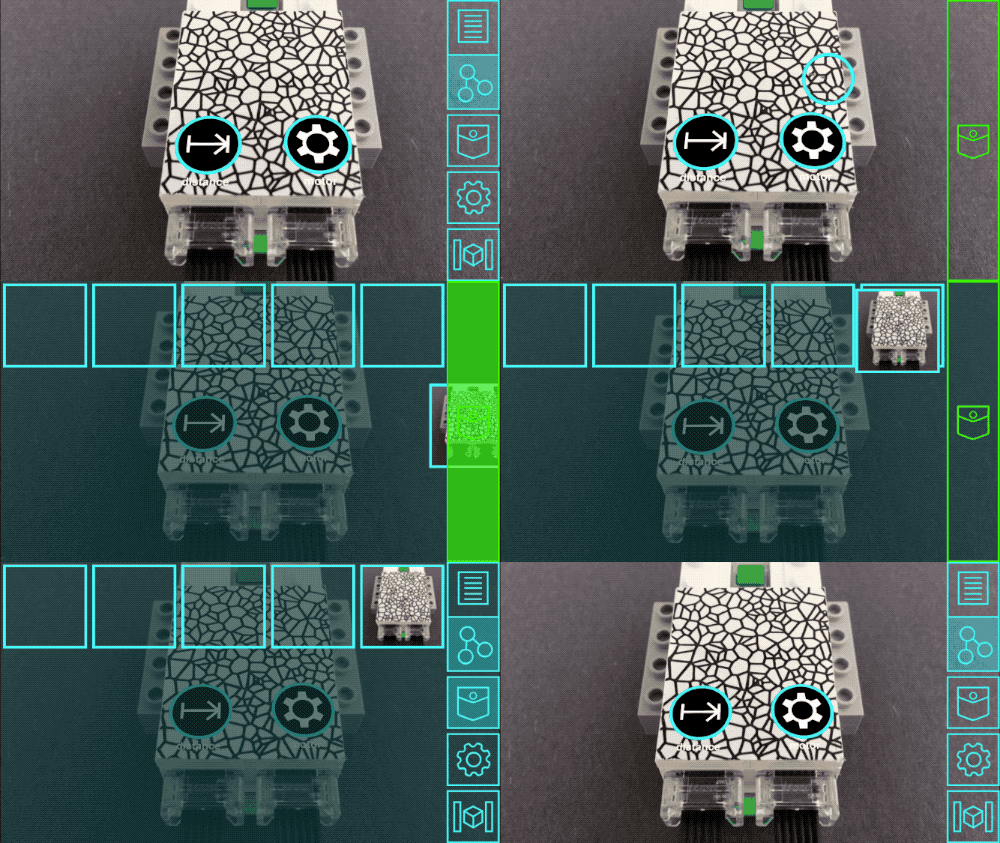
Memories are a way to save snapshots of your objects so that you can interact with them even when you’re not physically close to them.
Create Memory
Tap and hold on the background video stream, and drag it to the pocket button to create a memory. When the pocket opens, choose a slot in the memory bar to save it in.
View Memory
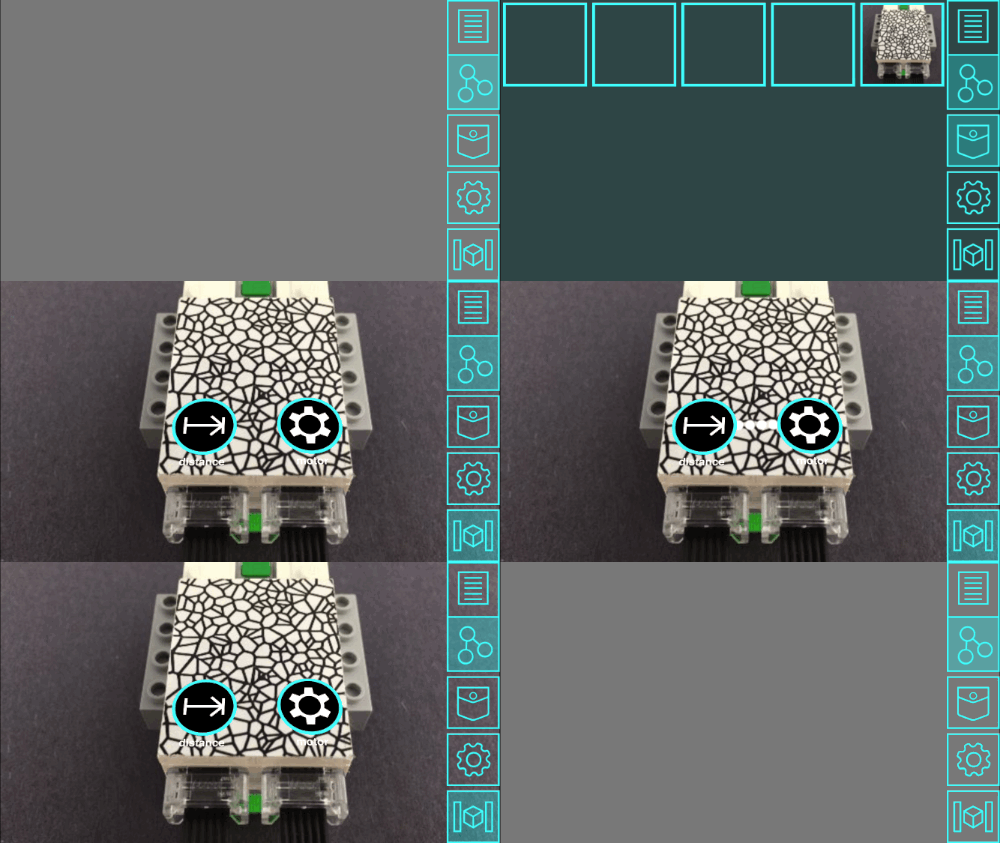
Later, when you aren’t viewing your object anymore, you can tap the pocket to view the memory bar.
Delete Memory
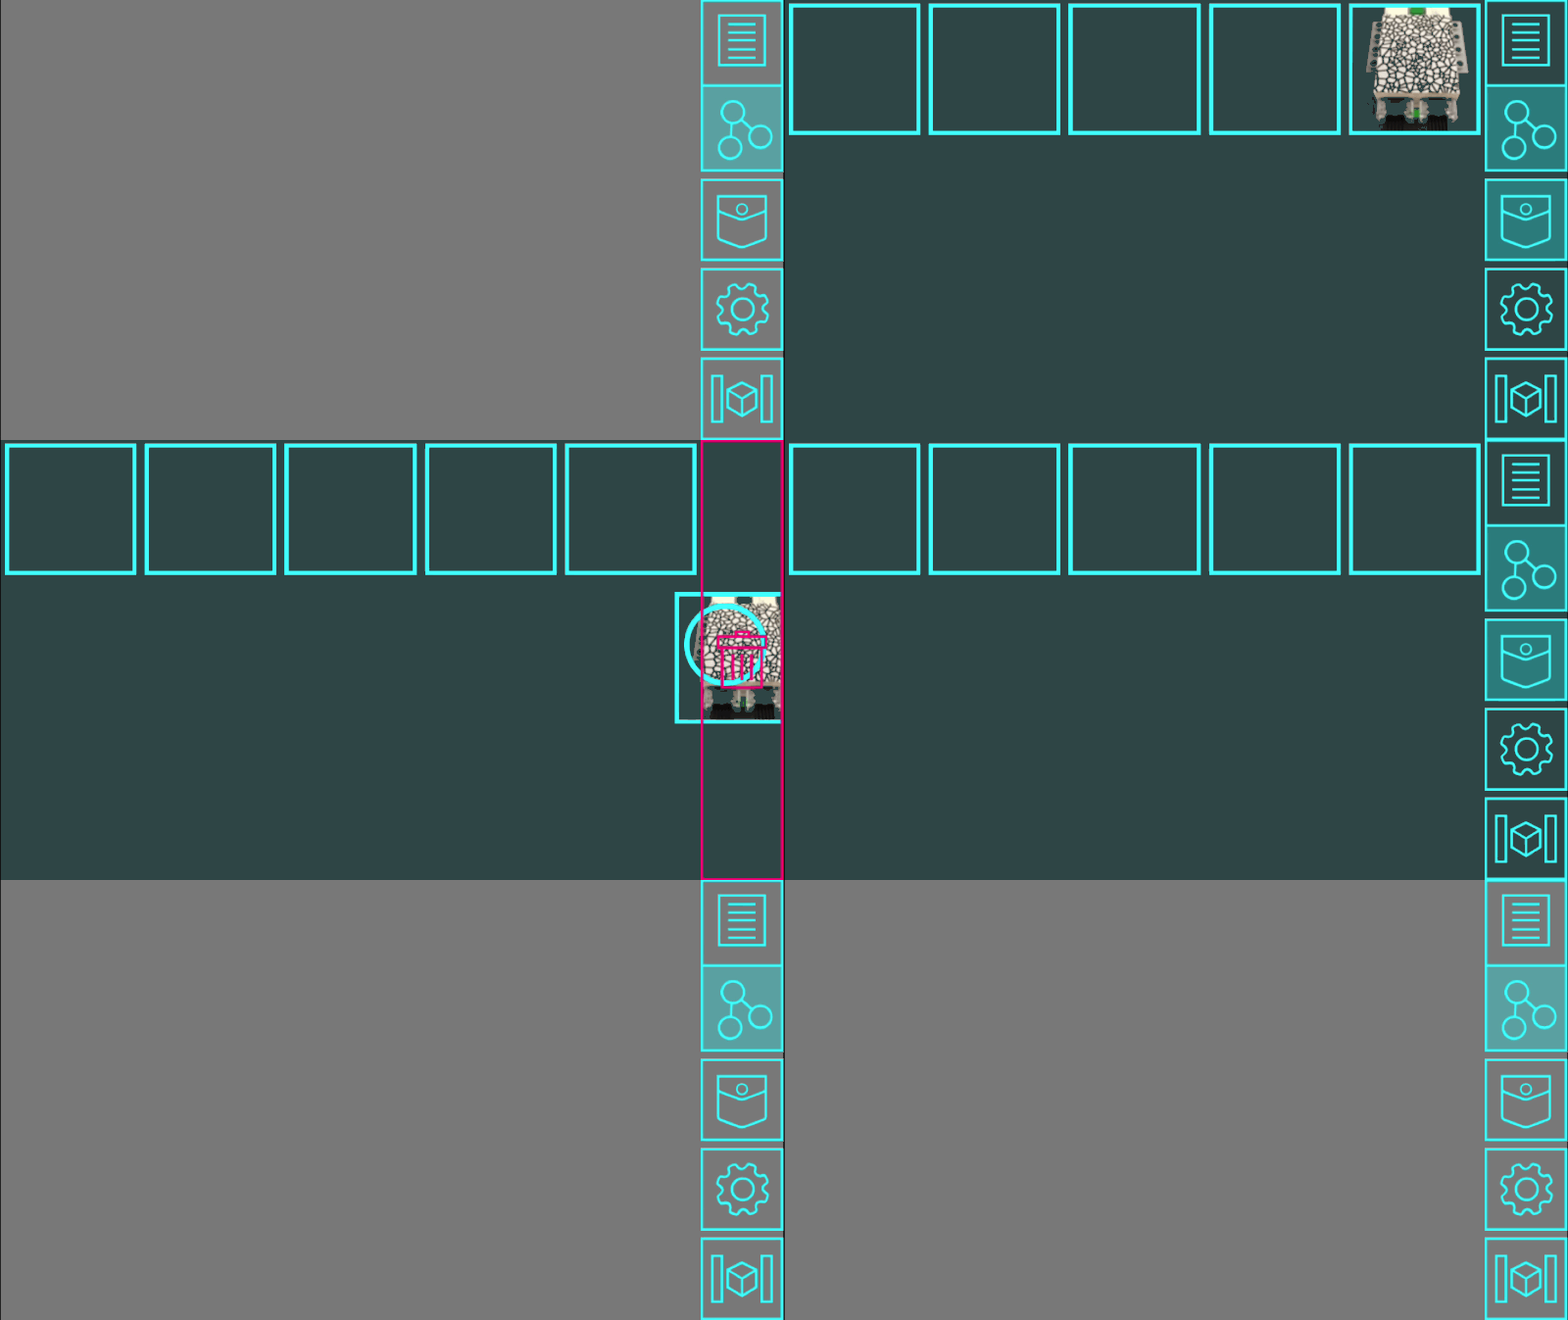
Drag the memory out of the memory bar and into the trash to delete it and make space for a new memory.
